JQ Products – THE Car – THE Release – Part 7
In part 7, JQ takes us through the drivetrain, fuel tank and aerodynamical beauty
Drivetrain
The Drivetrain is a key feature in any racing car. On THE Car I focused on two main points, making it light, and making it durable. I want to have a free spinning, maintenance free drivetrain, and I want it to be light. The drivetrain may seem insignificant at first, but it’s not, it directly affects the cars acceleration and responsiveness, and also as I have found in testing, runtime.
Driveshafts
I have never liked the so-called CVD’s. Personally I believe they are used mostly because they are cheaper to manufacture, and because they are trendy now. In my opinion the cons clearly outweigh the pros. They wear out faster, they work differently when worn out and when new (inconsistent), they require more maintenance, they require larger bearings and bulkier hubs, unless you want to lose pins. So I went with the bulletproof universal joint. For me it was a simple choice.
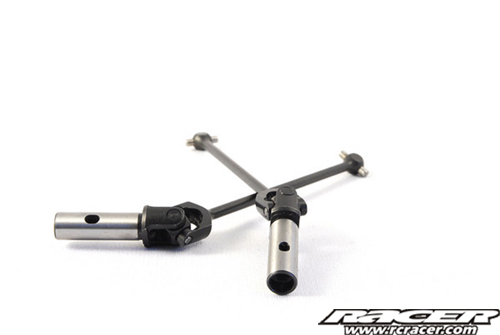
I don’t think you can beat Universal Joints.
Diffs
As far as the diffs are concerned, I wanted to make strong, good, basic diffs to start out. Later on we can start playing about with other versions. So how make them better? I made them as light as possible, and I challenge you to find a car with lighter diffs than what you can find in THE Car. You won’t! At least not during 2010, I can assure you. Lighter diffs = less rotating mass = faster acceleration and throttle response, and more fuel mileage. I also made sure to have enough oil in the diffs, we don’t want to cook them, so they have the same amount of oil as the other top brands.
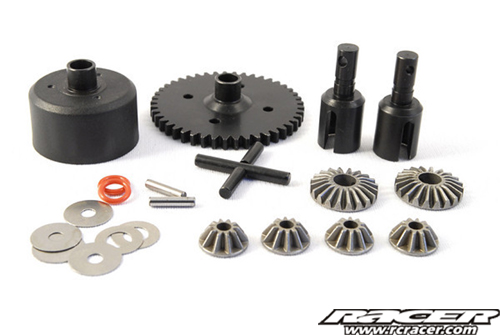
Playing it safe, with this critical piece of THE Car.
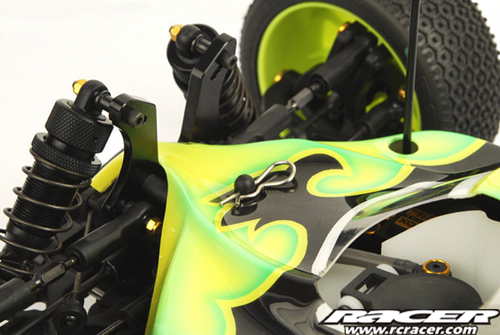
Fuel Tank
The fuel tank is a fairly standard new generation tank, with an airplane style clunk pick up system, so the engine gets fuel also while the car is upside down. It also has fuel line clips attached to the side, 1cc and 2cc inserts for adjusting the volume, and a built in splash guard to stop fuel getting on the brakes.
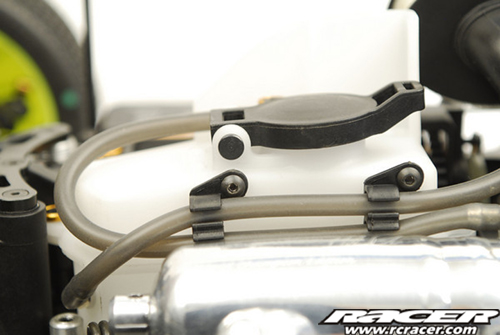
The only real innovation is how the pressure line doesn’t have its nipple on the cap, but instead has its attachment next to the cap. This was done in order to protect the pressure line from damage, making it possible to cut a smaller hole in the body, and just because the cap looks much cooler without it.
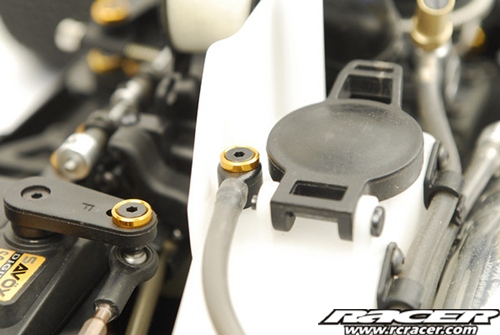
The cap and spring weren’t finished for these pics, but you get the idea.
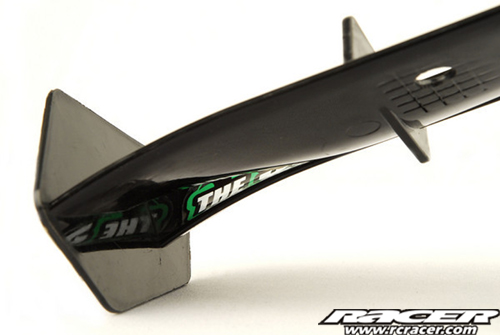
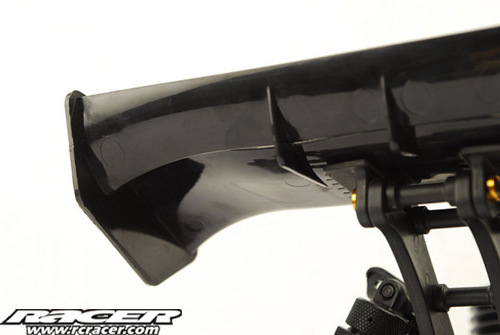
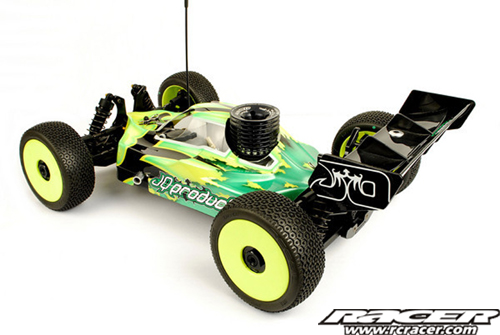
Body and Wing
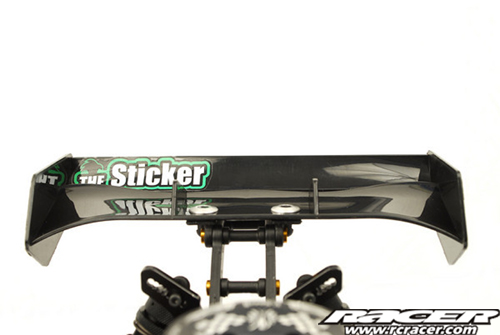
THE Wing fits all cars.
THE Wing was not wind tunnel tested, because I am not an aeronautical engineer, and because THE Car in front of the wing makes everything rather complicated. Instead it was designed to look really cool and fast, be light, and at least in theory create downforce, instead of acting as a weight, and airbrake. It is pretty much an airplane wing upside down with a few tweaks. Does it look cool? So far I have only heard positive comments, and I am rather stoked about that.
You can see a grid for easier mounting. There won’t be holes, but the holes for THE Car are marked.
THE Body was designed purely based on looks, and I wanted to make it look like a car. I think it does. I cannot notice any performance difference with buggy bodies, other than the visually induced performance issues. (A good looking car is faster)
No Slop Wheel Attachment
The wheels on a 1:8 scale buggy tend to wobble a lot. I decided to address this problem. What is the point of setting camber and toe in, if the wheel moves about so much that it changes the angles +/- 3 degrees? The solution proved to be really simple. By making the hole in the driveshaft elongated towards the inside, the hex pin can now move inwards. This means, that when the grubscrew in the axle is tightened, it forces the pin, and the hex along with it inwards, towards the wheel bearing. In order for the bearings not to be crushed together, I then added a spacer between them. Simple and effective. No more extra slop in the wheel attachment. Because we aren’t rocket scientists at JQ Products, and because this area involves a lot of variables to get the tolerances right, we had to include 0.1mm shims, that need to be used in the case that after tightening the grubscrew, the bearings tighten up. Pay attention to this when building THE Car.
What Else?
We hope you like THE Car. If you don’t, why did you read this far? HA HA. If you have any questions or concerns, the absolute best way to get any sensible responses is to register in THE Forum on www.jq-products.com/the-forum and we will see how we can help you. Also check out THE Car page here: www.jq-products.com/the-car
Source: JQ Products