


![]()

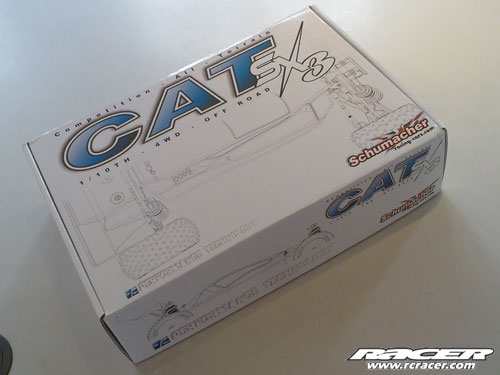
Build Report – Schumacher CAT SX3
Welcome to the latest online build from Racer Magazine,
brought to you in association with Apex Models.
The new CAT SX3 from Schumacher is the replacement for the SX2 sees the proven suspension remain the same with the focus of development being the transmission layout that sees the motor now positioned much further forward and saddle pack LiPos situated at the rear. There are still three belts, but the transmission is very different to its predecessor.
The SX3 we have here is the Pro version with Carbon Fibre components. Supplied as a kit, all elements have to be built.
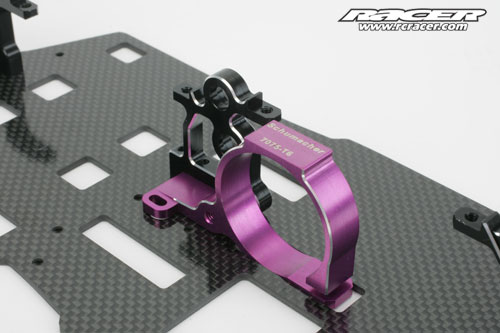
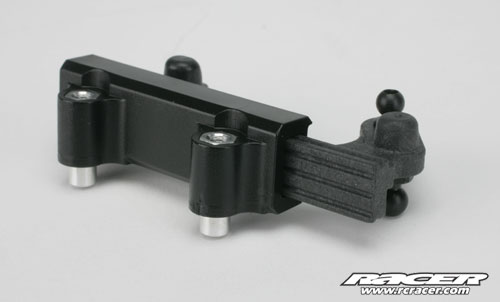
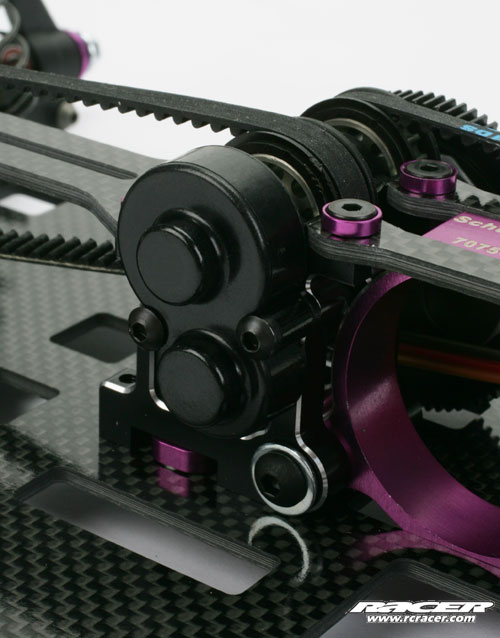
The first job is to fit the motor mount and machined bulkhead to the chassis. In essence, you build one side at a time to allow the fitting of the layshafts.
Here you can see the slot in the underside where the mount slides to mesh the motor.
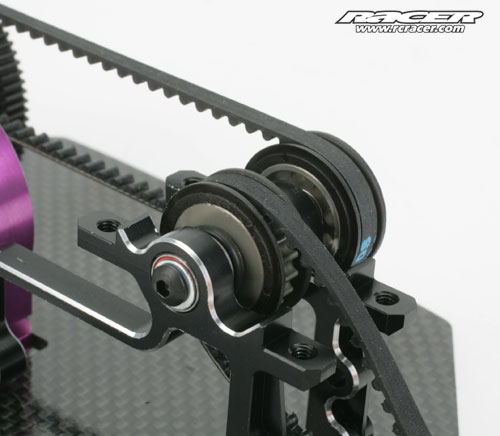
The slipper shaft is next up and features a ball raced supported spur gear with adjustment. On the SX3, the slipper adjustment is at the same end as the gear unlike previous models.
The slipper shaft locates at the bottom of the alloy bulkhead whilst above it sits a second layshaft that transmits drive to the rear diff and the front layshaft.
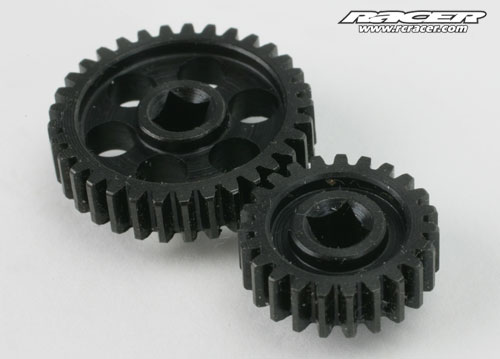
Steel gears replace the old alloy/plastic ones for greater reliability.
Here you can see the gears are installed.
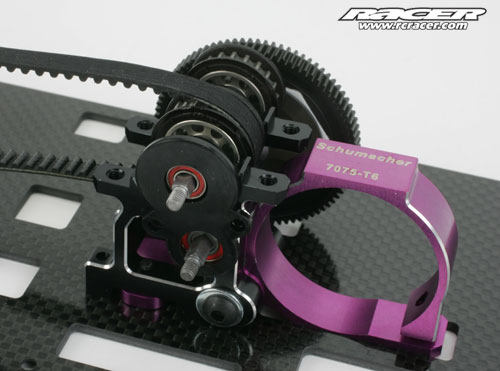
With the centre section completed for now, attention turns to the front layshaft. As standard, this gives a full-time 4WD set-up although the Schumacher FAB system (Front Adjustable Braking) is available as an option.
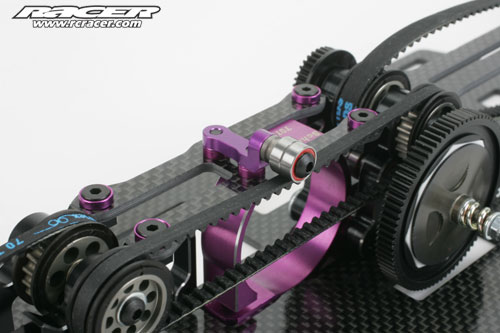
Now the centre belt can be fitted and there is an adjustable tensioner on the top deck to prevent belt skip.
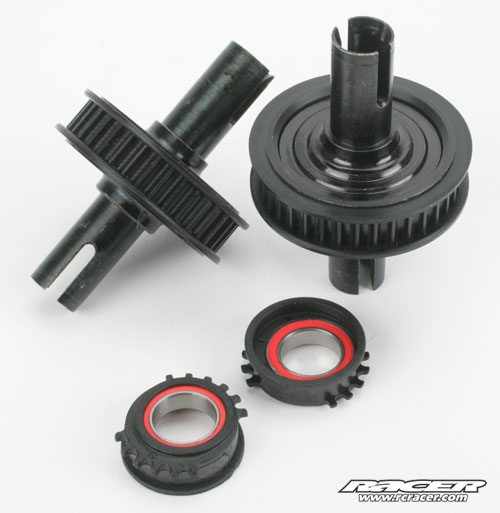
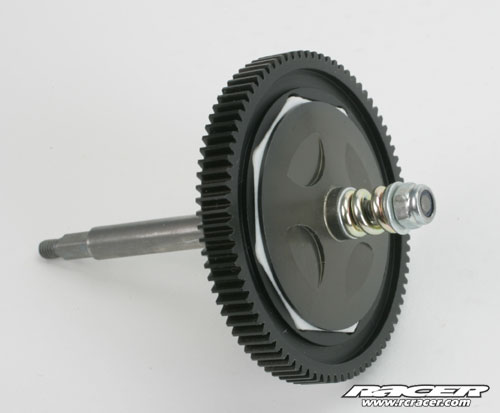
Here are the new SX3 diffs that use new pulleys and gears. As a result, protection against dirt getting in is much greater. Moulded eccentrics house the bearings which on the SX3 feature red rubber shields that are rumoured to be much more durable than the previous ones.

Rear diff in position and located as per the manual.
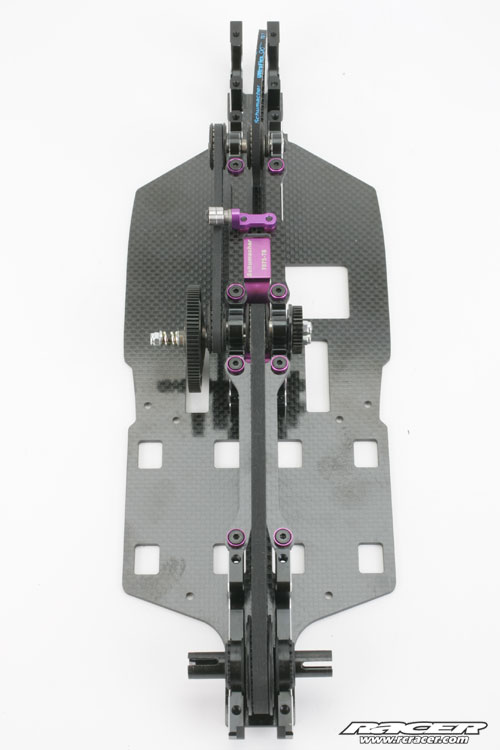
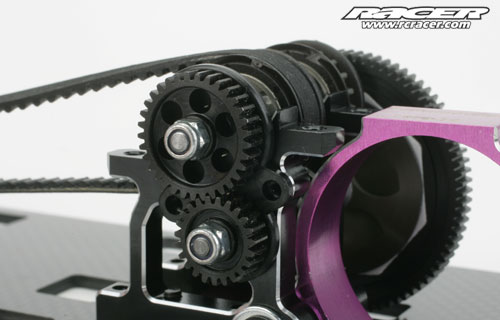
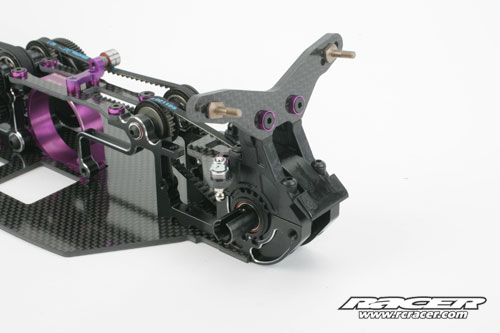
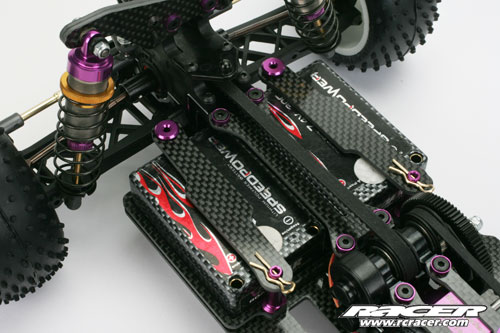
The transmission is coming together now…

Moulded upper transmission housings feature front and rear.
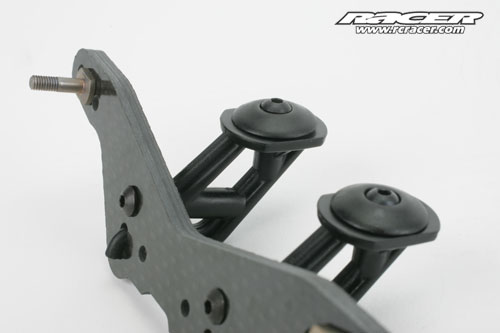
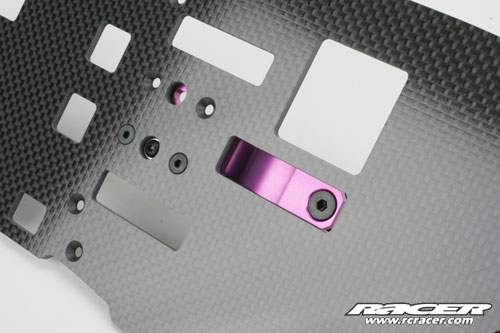
New solid rear wing mounts replaces the O-ring versions that were a Schumacher trademark.
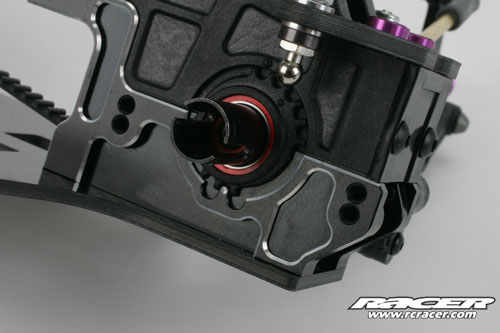
The front tower follows that of the rear. Note that the roll centre plates are the narrowest ones front and rear with spacers used to raise or lower the ball joint height.
Like the SX2, the steering parts are all moulded, but these felt much more rigid than the older ones.
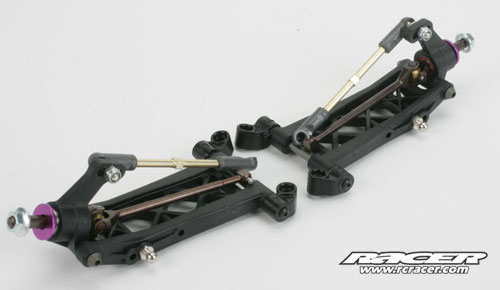
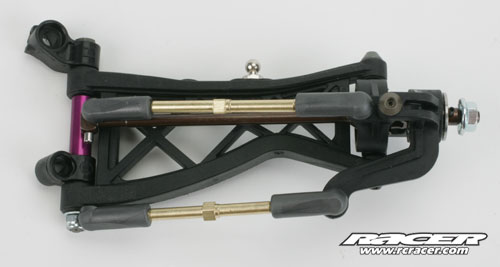
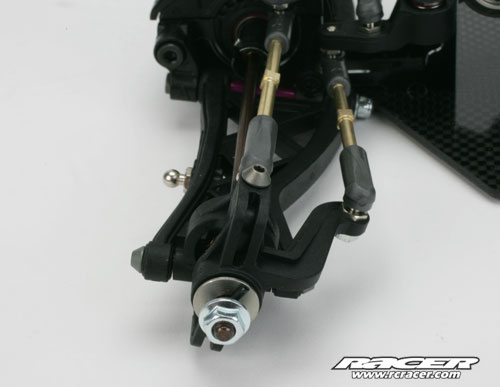
The rear suspension arms or wishbones are built up as a pair with the hubs, turnbuckles and mounting mouldings fitted.
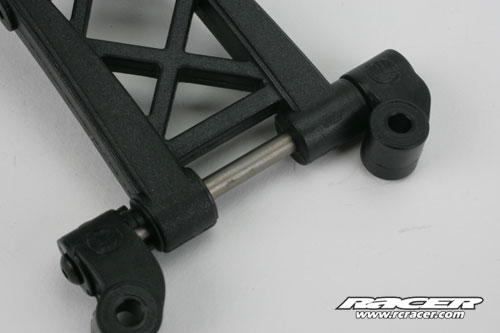
We noticed that the hinge pin appears to use a different material or finish than the ones we have seen before.
The same can be said of the pivot pins that support the hubs.
The rear wishbone is fitted and the turnbuckle link connected to the chassis.
Here you can see that different coloured pivot holding the hub in place and the gold finish on the new hardened steel turnbuckles.
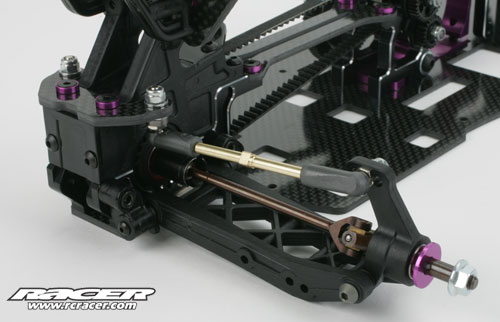
The rear wishbone mount can be secured into one of two pairs of mounting holes to alter the roll centre.
Now our attention turns to the front wishbone. The same gold turnbuckles as found on the rear are different to what we saw on the SX2,
but we believe them to be steel with a coloured coating.
The standard ten-degree caster blocks are moulded – options include 7.5 and 12.5-degree versions in alloy.
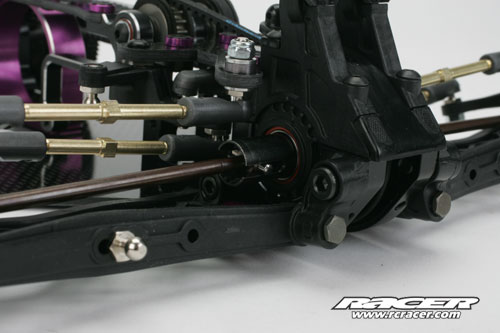
The front end is completed. Note the use of a 4mm front fixing on the wishbone hanger. All the other fixings are 3mm on the front and rear.
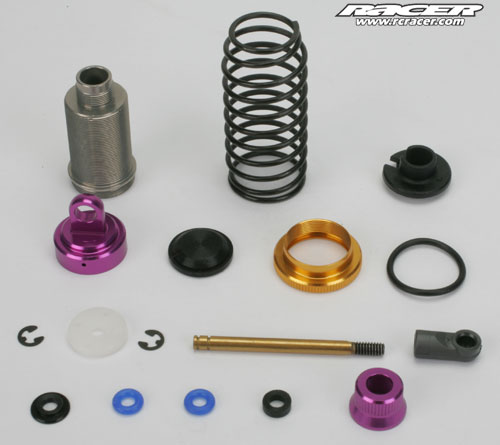
The main components of the big bore shocks that were first seen on the SX2 model.

The seals drop in at the bottom of the body and are secured with an alloy cap.

A Titanium-Nitride coated shock shaft is standard equipment. Four-hole pistons feature up front and six-hole versions at the rear.
The shocks are graced with conical springs to allow the use of a smaller moulded spring retainer at the bottom – the same retainer that was found on the small bore shocks that came with the original SX model. At the rear, 2.5lb springs are fitted and 4lb versions at the front. The front springs are of a more open coil design than the previous BB springs.
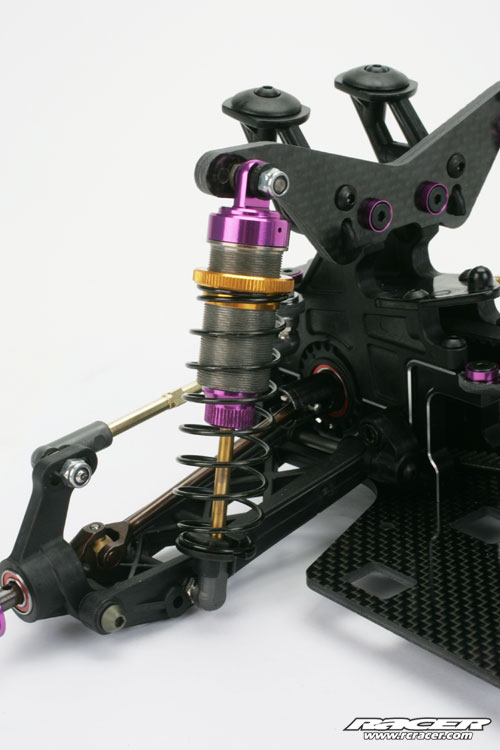
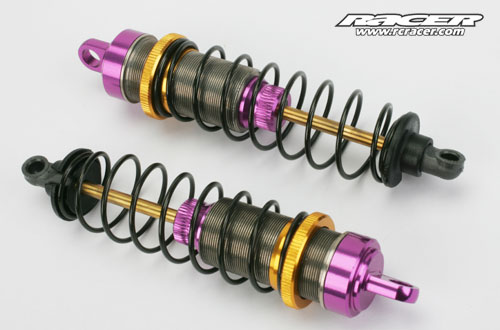
Now the shock absorbers can be mounted to the chassis. Here are the rear shock absorbers in place although the position of the adjustable collars will change as we set the ride height later on.
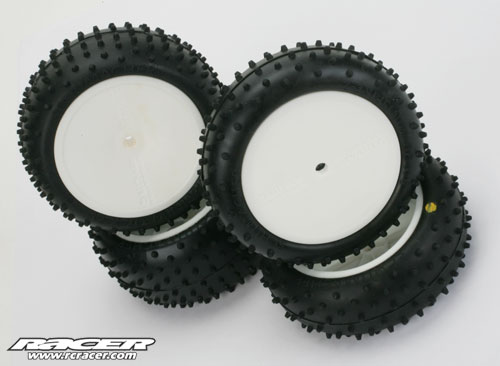
We then decided to mount the wheels but beofre that, we needed some tyres as the kit only comes with wheels. Schumacher included some of their very popular Mini Spike 2 tyres in yellow compound. These were mounted with a Schumacher insert between the two parts and is a good starting point.
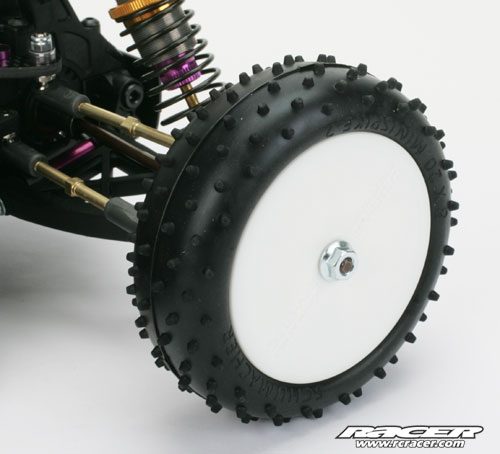
Here you can see the front wheels fitted and secured with a serrated nut to prevent any chance of the nut working loose.
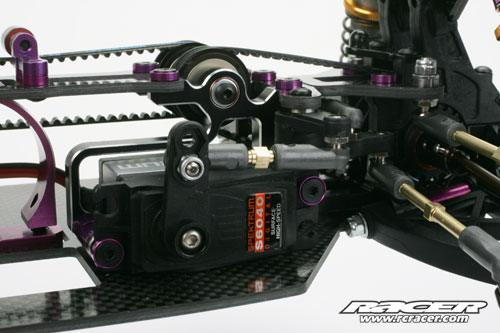
We next bolted in a S6040 high-speed servo from Spektrum. This is a digital metal geared servo from their surface range and has a speed of 0.08 of a second over 60-degrees with 12kg per cm of torque. We used all three washers behind the servo to bring it in line perfectly with the linkage to the steering assembly.
Like the older versions, this SX3 comes with a cover to protect the exposed steel gears.
The LiPo is retained by a quick release strap from the top…
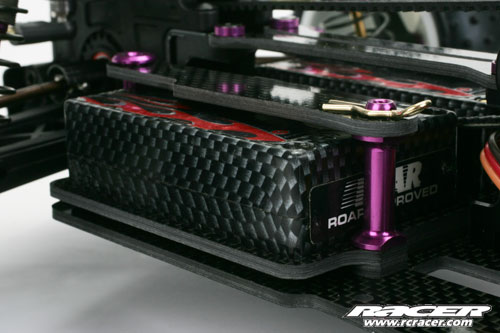
…and locates in a tray that sits off the chassis. There are cut outs in the chassis that for use with LiPos that have the moulded bumps in their casing. We opted to fit a set of Speed Power 4200mAh LiPos, although these need the foam padding on the straps to ensure a good fit, otherwise they rattle in the tray as the SX3 is designed for the tallest approved LiPos.
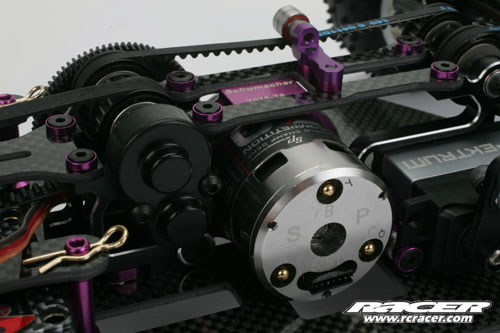
The motor is a Speed Passion V3.0 in 5.5T guise which is what we have used in previous Schumacher CAT SX reviews as this has proven to offer a good blend of power and driveability. This too was kindly provided Schumacher who are the UK distributors for Speed Passion.
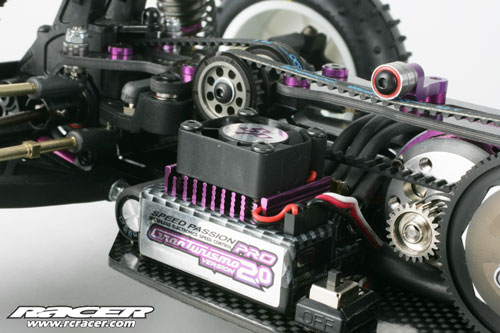
A Speed Passsion GT2.0 Pro speed controller in carbon fibre/purple was the perfect match for the SX3 so this was dropped into place along with the optional single capacitor set-up. We followed the radio layout of the likes of their team drivers which is very neat, but requires careful routing.
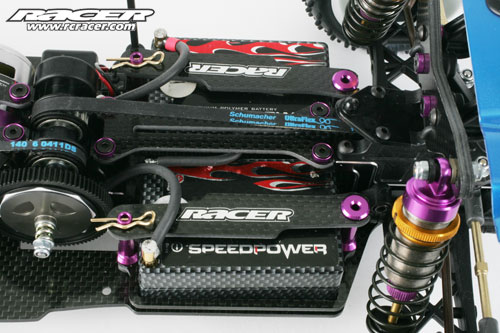
We made up a link wire between the two halves of the Speed Power 4200mAh LiPo cells and the connectors soldered into place. The wires were cut for a neatness whilst still making it easy for battery installation and removal. Note the addition of some small decals and the foam was placed under each strap, hence the reason for the strap looking like its not sitting against the LiPo.
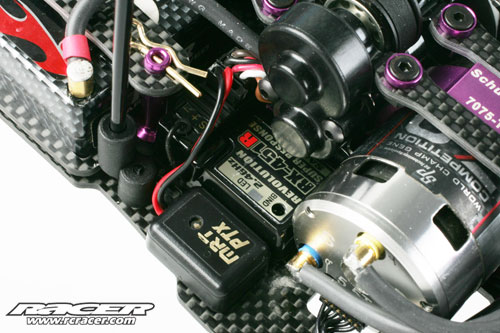
Sanwa’s fastest R spec RX-451R 2.4GHz receiver was tucked into place leaving just enough room for the MRT PTX personal transponder alongside. We trimmed the bottom of the aerial mount to fit it in this non-standard position, although we were aware that the dimple in the body would not be in the right place.
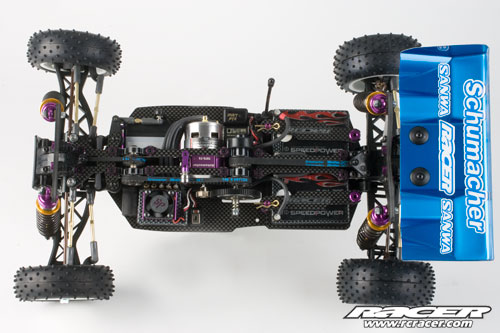
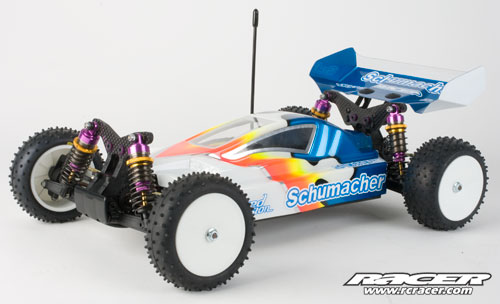
Here is the finished item minus the body and undrtray. The layour is super neat and reflects the build quality and components used throughout the build.
Dave Holmes at Custom Graphics kindly painted the body/wing/undertray whilst Keith Newton at Kifo Paint supplied the decals for the all-new SX3 design. We always felt that the half height sides on the SX/SX2 body was not ideal and the SX3 addresses this and now allows the undertray to be removed for indoor or use in extremely hot conditions where cooling can be more of an issue.
Summary
The build on the SX3 was of a very high standard and we have to say that it was a fun and quick build. There are some upgrade parts that are worth considering like the FAB and some of the alloy parts, but on the whole, apart from the usual investment in some different springs and pistons like you have to do with most off-road kits, the Schumacher SX3 should work very well as standard. The SX3 is now ready for its debut meeting at the TLR Super Cup at Eden Park Raceway on 24-26 June 2010.
Racer Magazine will have a more detailed review of the SX3 along with new photographs in our October issue, on sale and online Thursday 1 September.
Many thanks for taking the time to read our online review and if you have any comments, please pass them on to web@rcracer.com where we would appreciate any comments. Until next time…
Racer would like to thank to all that have helped us with this online build including:
Schumacher Racing (www.racing-cars.com)
Schumacher CAT SX3 chassis/Mini Spike tyres/Speed Passion GT2.0 speed controller/Speed Passion 5.5T motor
Horizon Hobby UK (www.horizonhobby.co.uk)
Spektrum S6040 servo
LRP (www.lrp.cc)
Sanwa Exzes X transmitter/receiver
ToniSport (www.tonisport.de)
Speed Passion support/MR33
Dave Holmes at Custom Graphics
Body shell painting
Kifo Paint (www.kifopaint.co.uk)
Decals
Other useful resource links:
Spektrum (www.spektrumrc.com)
SMD (www.s-m-d.co.uk)


