


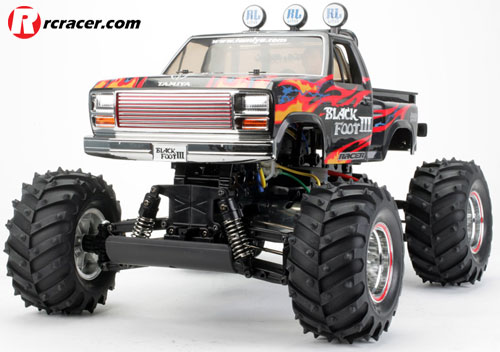
Tamiya Blackfoot III Goes 4WD
Now many of you die-hard Tamiya fans will know the information shown below, but this guide is aimed at the newcomer to our RC hobby. And who doesn’t like to tinker with their truck and make it quicker? Tamiya cars often share common components and parts with other vehicles in their range so with this in mind, we look at what it takes to do a four-wheel drive conversion to our Blackfoot III.
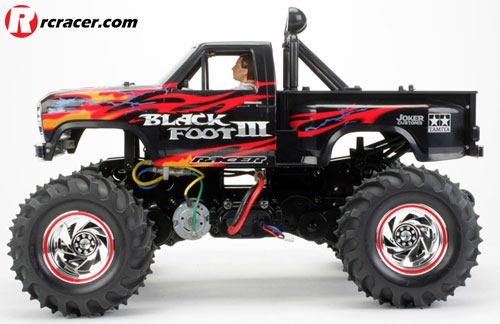
This uses a common chassis found in many other Tamiya trucks including the now discontinued Wild Dagger. This truck had a gearbox front and rear where as the Blackfoot has a single gearbox. The chassis rails allow for twin gearboxes to be applied, so with a little bit of shopping at your local hobby store or on that lovely auction site, you can quickly find everything you need to make your Blackfoot, Mud Blaster or Bush Devil 2 into an even bigger monster!

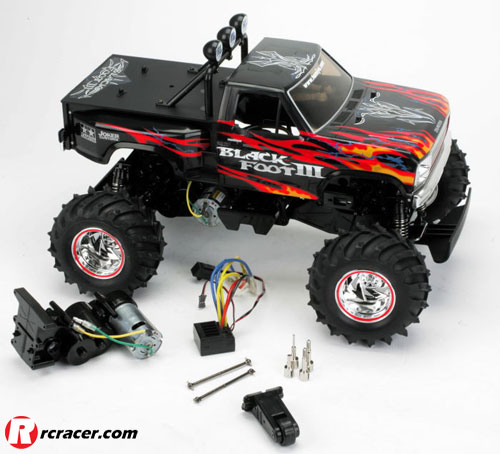
 So our shopping list consisted of 
Blackfoot rear driveshafts, output cups and wheel axles (M03 ones will fit), twin output speed control (TEU-103BK). wheelie bar from a Wild Willy 2, etc. The latter is not strictly necessary, but we wanted one…
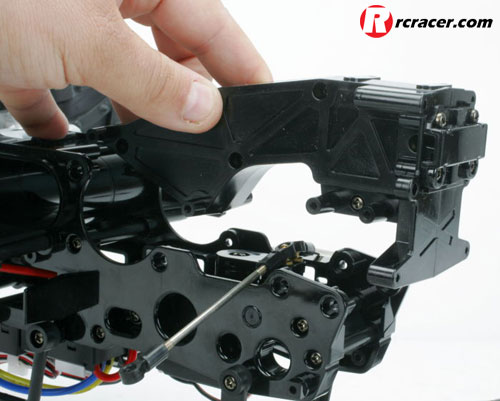
So first you need to remove the fake front gearbox from your Blackfoot, as well as the front arms from this unit. After this, it lifts off in one piece once the you have removed all the retaining screws.
 We took this opportunity to upgrade the steering servo to a metal geared version for increased reliability.
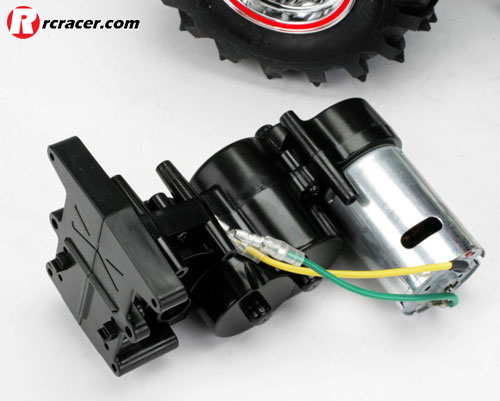
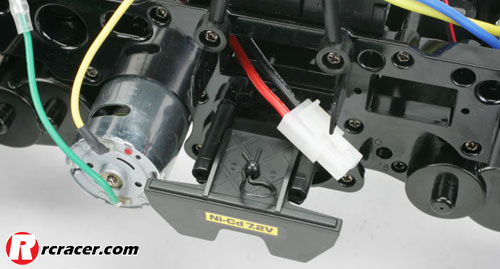
Now you can put your new gearbox in place. If like us you brought a pre-built version you should have an 18 tooth pinion installed in both gearboxes. If not you must install the same size pinions otherwise the truck will not drive correctly.
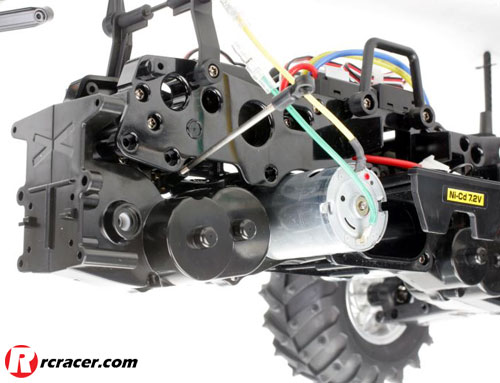
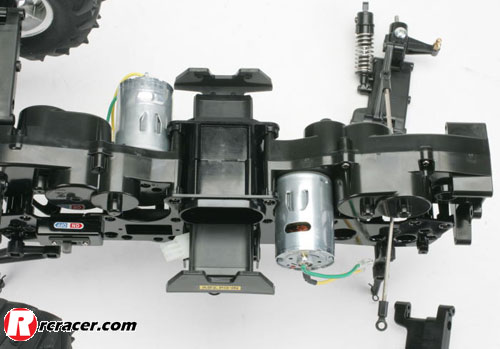
Here you can see we now have twin motor drive!
Whilst you have the arms, off you will need to replace the standard stub axle with the slotted drive axle. It is also a great time to replace the plastic or bronze bushings with ball bearings to free more power to your wheels. Refit the front arms, not forgetting to pop your new output cups into the gearbox, add the driveshafts and replace the front wheels.

Once you have done this and replaced the arms, we can now pay attention to the rear end. As the front bumper will no longer fit on, we need the bumper from the rear. If you have an XB version you will only have one bumper, but if you have the kit version you have a spare bumper in the box. So you could fit one of these front and rear if you so wish.

We wanted the wheelie bar, but as you can see it doesn’t secure the rear wishbone U bolt in place. So a pair of rear arm securing pins from an M chassis has been employed from our spares box. You could use a set of stainless steel shafts from a TL-01 if you really wanted too.

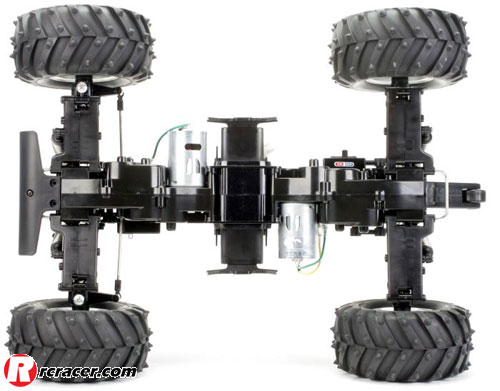
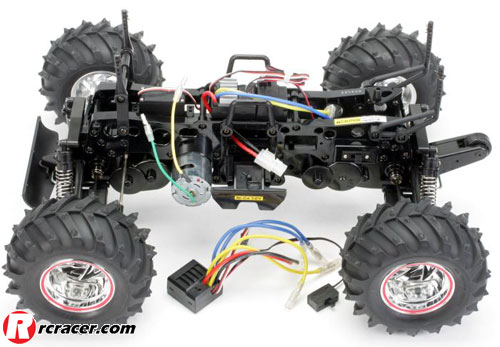
Now we can pop the rear bumper on the front. And you should have a chassis which now looks like this.
And here you can see what we no longer require. These can be popped into your spares box should you wish to convert it back.
Now we simply swap the standard speed control over for the twin output version. You may find an unlimited speed controller can run two standard motors, but we prefer knowing our controller is designed for this purpose. The one we use simply slots into place after removing the old one however, you now have two extra output wires for the new gearbox. Before running the truck ensure you check the polarity of the motors so all four wheels run in the same direction.
Now as we are upgrading the drivetrain, we are also upgrading the power and fitting a round case LiPo in the chassis. However, for the sake of durability the plastic in the newer Tamiya kits is softer so even with the wide battery holders after some heavy driving action the battery can still work loose.
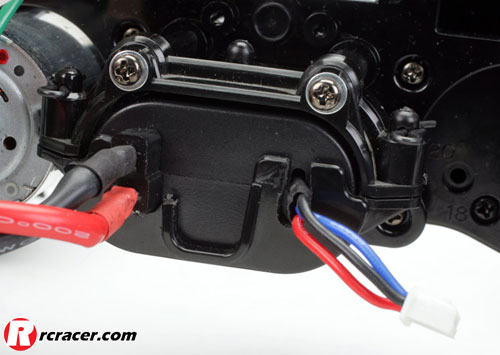
 So we have pilfered some battery holders from an M05, as these encapsulate the battery holding it firmly in place

.
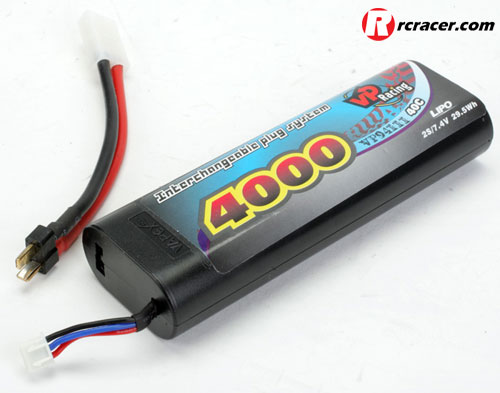
The battery we are using has a side exit plug enabling you to plug directly in using a Deans connector or the provided patch leads to the connector of your choice.
The new holders had to be modified to allow the connections into the new battery so a little Dremel work was applied.
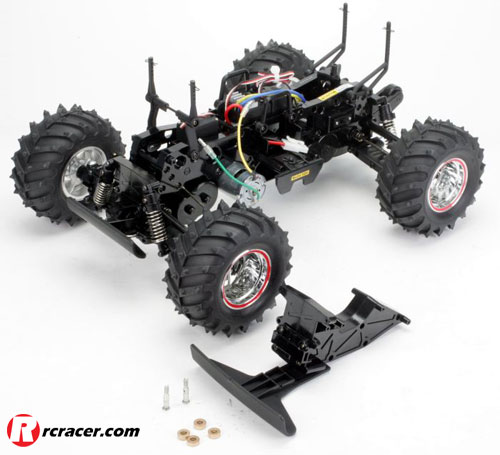
So there you have it – a 4WD drive monster truck, which will now be even more fun to drive. 
Not only faster but more capable out on the rough stuff.


Wo kann ich einen fertigen 4 wd kaufen?
How much is a New chasey for a Blackfoot 3
You will need to speak to a model shop who can find out that information for you.