Engine Torque
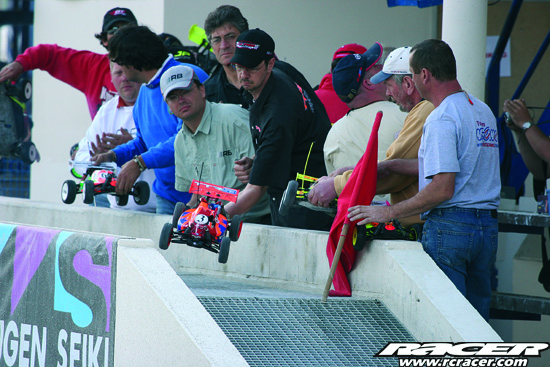
Jon Dell offers his extensive experience on how he runs in a nitro powered IC model car engine to get the maximum performance and the best longevity.
In being asked to write about how to run-in nitro powered IC (internal combustion) engines, I found myself with a bit of a problem. There are quite a few different opinions on how best to do it. So the following article describes how I go about the process and offers some tips and advice that I hope you find useful.
Reliability
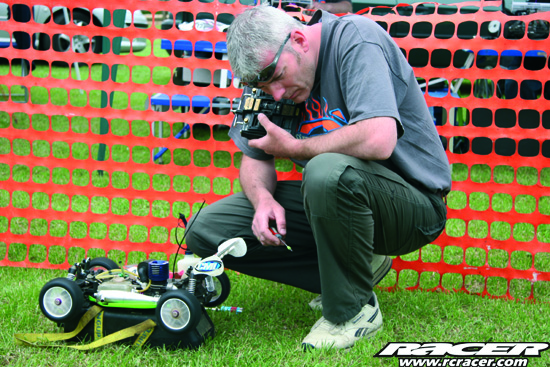
Over the past three years I have been mechanicing for ex-British 1:8th scale Rallycross Champion Jon Hazlewood and between us we have had a high degree of success with our racing. One of the key aspects of our set-up is to have a reliable engine. I have always believed that IC racing is about endurance and not necessarily about being the fastest. At the end of the day, an engine that does not continue to run all the way through a final is not going to win you many prizes.
Running-in an engine can affect how reliable it is throughout its useful life. Choosing the right ingredients for your engine package will also affect the lifespan of the engine, but hopefully you would have chosen them by now. If not, then try to stick with the manufacturer’s recommendations or ask other drivers at your club that are using the same engine of your choice.
Forward Thinking
When I need to run-in an engine I do try to plan ahead and not run it first time at a big race meeting. This isn’t always the case and is a difficult thing to control and unfortunately I have been known to run-in an engine the night before a big race. The end result is that the engine needs to be perfect for the practice so that effective car set up can take place. The best situation is to run-in the engine before you get to the track and have that first run at a club meeting or even on a practice day.
Preparation
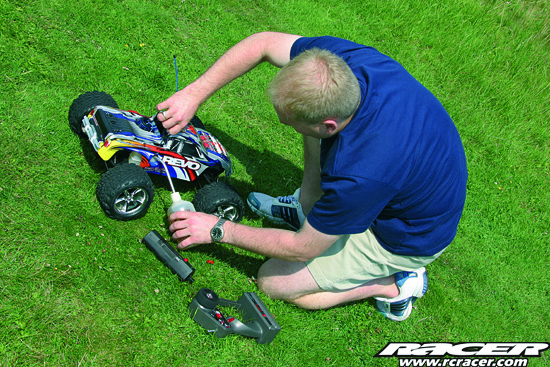
My method is well tried and tested and learnt in the main from other racers that I have had the pleasure to have met at race tracks. Successful running-in can be made easier well before you put the car on the starter box. Removing the engine from the box I bolt on the engine mounts first and then fit a flywheel that has a good knurling on its edge. This is important as the engine is going to be tight at its top dead centre (the point where the piston gets stuck in the liner) and the starter wheel will need to grip on to the flywheel in order to rotate it. The knurling can be refreshed with a triangle shaped file. Just re-cut the edges into the flywheel. This takes some time to do, but will save money and running-in frustration in the long run.
Ancillary Components
Fit the clutch system and ensure the clutch bearings are in good condition. New exhaust gaskets/joiners, fuel pipe, and air filter should be fitted to ensure leakages don’t occur and that everything is clean and free from dust and dirt. It might be worth cleaning out the fuel filter and flushing out the fuel tank as well. It’s possible you are running-in an engine because your old engine failed for some reason. That reason could be something outside of the engine components, such as the items I have mentioned, so check them carefully.
Bolt the engine into the car and set up the throttle linkages. I always set up my linkages so that the horn is north to south of the servo, and the carb is always full shut with a 1mm or so gap before the servo can open the carb. Failure to do this may mean that the engine could stop when applying the brakes as the idle would fall too low as the carb fully shuts.
Box Clever
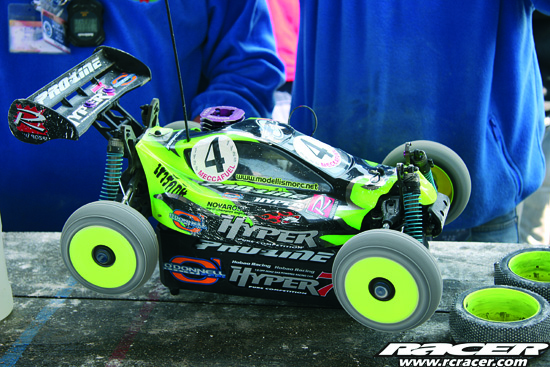
Yet another important issue to consider is whether the starter wheel actually turns the engine flywheel. You can check this with the starter box unplugged. Push down on the car so that the flywheel touches the starter wheel. Check to see if the starter wheel is touching the chassis. If it does, this will slow down the starter wheel and it may not transfer its energy to the flywheel. You can file the underneath of the chassis slightly to allow for more access for the starter wheel to engage the flywheel properly.
It’s Easy Now!
Now fully charge the starter box and the glow start and go and find a nice spot to run-in your engine. With all the prep work done this is now going to be easy if you follow these simple step-by-step instructions:
1. Put a few drops of after-run oil down the plug hole, just before you attempt to bump the engine. This will add lubrication and help turn it over.
2. Prime the fuel into the engine by blowing down the exhaust pressure fuel line. If you open the carb as well it will fill up with fuel again adding lubrication where it’s needed.
3. Turn the main (top end) needle out by one full turn, this will ensure the engine will at least run rich first time.
4. Open the carb fully by moving the servo by hand. Running-in using the radio ties up your hands and makes it harder.
5. Clip the glow start on and leave for five seconds to fully warm the glow plug.
6. Now dump the engine down onto the starter wheel. If you’re lucky the engine cranks, fuel pumps through and hopefully the engine fires. If not, the engine locks. This seems brutal, but you now need to take a screwdriver and leaver the flywheel around from underneath the chassis.
7. On the engine firing, close the carb, but not fully. The goal is to have the carb fully open, but running dead rich, the wheels should be turning but not fast, the engine tone should sound very flat, smoke and lots of oil should be coming out of the exhaust. This is achieved by now opening the carb and turning the main (top end) needle out. If you go too far and the engine is starting to stall, quickly pinch the fuel line to the carb. This will lean the engine out so you can quickly adjust the settings.
8. There is a balance between running the engine rich enough and hot enough. To be honest this balance can’t be taught, but only learnt by practice.
9. Run six tanks through the engine on this rich setting. Before opening the tank lid to refill, shut the carb, and quickly fill. Then slowly open the carb. You may have to pinch the fuel line again to ensure the engine doesn’t stall.
10. Sometimes you will find as the fuel goes down in the tank, the engine gets leaner. This is sometimes due to air leaks in the tank that aren’t noticed during normal running. As it gets leaner, the revs will increase. Adjust the settings to keep the engine running rich at all times.
On Track Testing and Tuning
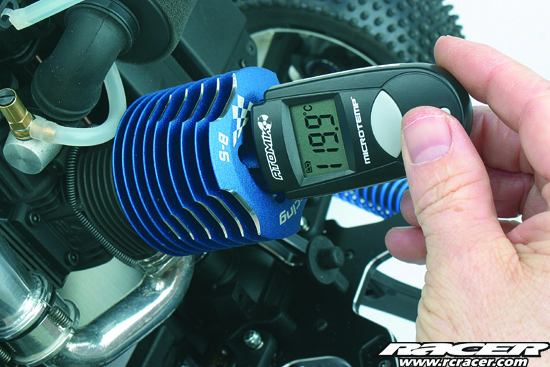
After six tanks, the initial running-in is complete. Now wind in the main (top end) needle back to around where it was out of the box. Tuning is another issue, but for now run the car up and down a tarmac strip or dry track. Different engines may require more than one tank to fully run-in, but for the engines I use one extra tank on a flat bit of ground is enough. The car should accelerate smoothly with plenty of smoke from the exhaust. Monitor the engine temperature, making sure that it’s not getting too hot.
Rich Racing
To finish off I would run the engine for a race meeting with a rich setting. This is not so rich it doesn’t perform, but rich enough so that it does not run hot. After using the engine always add after-run oil down the plug hole to avoid rusting of internal parts.
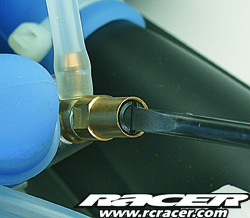
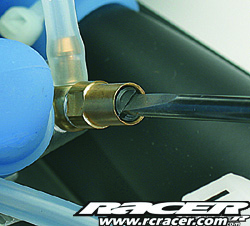
Making an adjustment to the main jet. We want to richen the mixture so we turn the screw one-eighth of a turn anti-clockwise. Like a tap, this will allow more fuel into the engine.


