


Keep it Clean
Graham Creasey dons his ‘Kim and Aggie gloves’ and gets into what he loves most – cleaning! While RC trucks are notorious dirt gatherers, the cleaning techniques used here could equally be applied to any other type of car.
One essential piece of maintenance is needed with every RC model car – you need to regularly give it a good clean! This applies particularly to RC trucks which are built to be versatile, capable of coping with almost any track surface. Grass, clay, gravel or tarmac can all be tackled with ease, enabling a truck to be driven in places other RC cars are unable to venture. But the variety of different surfaces also presents a problem – dirt. While on-road cars only require an occasionally dusting, RC trucks require a regular wash and clean. Store your truck when it is coated in grime and the next time you go to use it, parts could well have seized or gone rusty. Even worse, the truck might not run at all.
Take Precautions
While the most extreme way to avoid getting your truck dirty is to not run it anywhere filthy in the first place but this option generally isn’t the most fun. Far better is to take a few simple precautions to avoid attracting and retaining dirt and moisture. With a nitro-powered truck, the nitro fuel itself is a key contributor to the mess. Dirt sticks extremely well to nitro fuel, so avoid splashing any fuel over the chassis when you refill the fuel tank. Check the exhaust pipe too to ensure it doesn’t direct any sticky residue directly onto the chassis or bodyshell.
Water is the main enemy for electric components, so the goal here is to prevent the two from coming into contact. Most monster trucks are now supplied with sealed plastic covers for the radio equipment. Racing trucks often offer a moulded plastic cover for the chassis to seal it from the elements and ensure minimal water and dirt works its way inside. Even with such a cover fitted, it is still a good idea to thoroughly waterproof the electric components. Many different techniques can be used. Some drivers encase the receiver and speed-controller in Blu-Tack, ensuring no areas are exposed to the elements. Others insert the components into a balloon and seal the neck with a tie-wrap. Even better, many manufacturers now market speed-controllers that are already waterproofed. Some companies, such as MRT, will even waterproof a receiver for you by encasing the electronics in a plastic resin. If, despite your best efforts, any electronics do get wet, immediately remove them from the truck and put them somewhere warm to dry. An airing cupboard at home is an ideal place. Leave the components there for a day and the water will evaporate. With any luck, the item will then start working again.
How Frequently?
Most experts recommend that you clean your RC truck between every run and after every day of fun. In the dry, simple cleaning is often all that is needed between runs. If you have access to an air compressor, the worst dirt can be blown away using this. You can then brush any collected dirt away using a stiff brush and blow it away again with air. With the surface dirt removed, it is much easier to check the truck for any broken or cracked parts. You simply can’t spot these breakages when the components are covered in dirt. A more thorough clean is needed between race days, systematically working your way around each area of the truck.
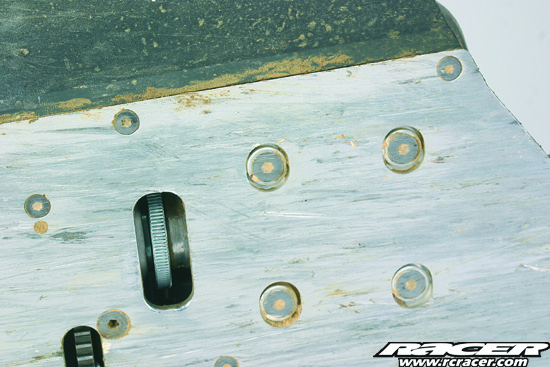
Chassis
Using compressed air and a brush is usually sufficient to clean the chassis. Sticky residues, such as dirt mixed with nitro fuel, can be removed using kitchen towel or a rag. Really persistent hard-packed grime can be slowly scraped off using a toothpick or flat-headed screwdriver, taking care not to scratch the chassis. Cotton buds soaked in denatured alcohol can be poked into awkward corners. Denatured alcohol can also be used to wipe the chassis surface clean once the dirt has been removed.
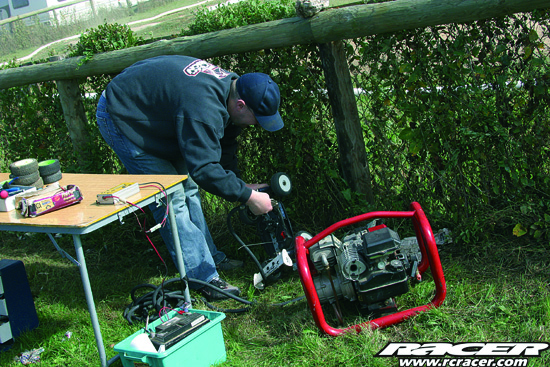
If your truck is really messy, it’s a good idea to first remove the engine, fuel tank and exhaust so that you can gain access to all areas of the chassis. Inspect the engine mounts to ensure these are clean as you do not want dirt hindering the transfer of heat from the engine to the chassis.
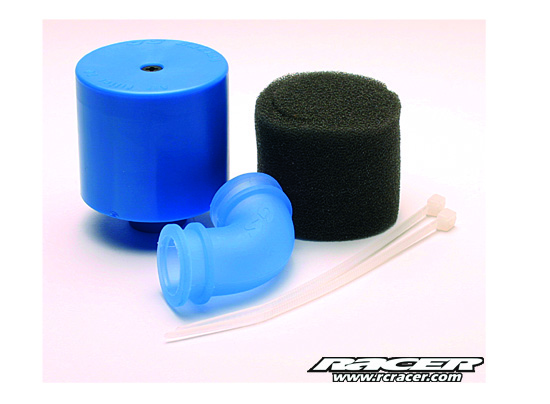
Air Filters
The air filter prevents dirt and dust from getting into the engine. Engines will wear out quickly if the air filter isn’t working correctly. If your truck uses a paper filter with pre-filters, such as those used by Losi or Associated, the pre-filter should be regularly replaced. The paper filter will then only need to be replaced when you see dirt accumulating in the creases, usually about once a month. However, always replace the paper filter if you accidentally flood the engine and soak the filter with fuel. Even when it fully dries out, a fuel-soaked paper filter will not work properly.
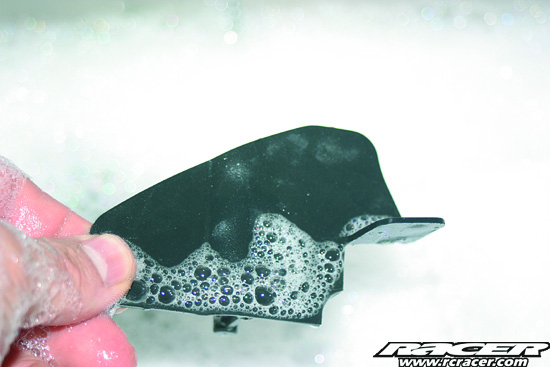
Foam filters can be cleaned by flushing them from behind with compressed air. Remove the filter from the truck and spray air through the bottom of the filter holder. Make sure you do this the correct way round so that the air pushes the dirt outwards and not deeper into the filter. Now spray the filter with denatured alcohol to remove any remaining debris and leave it to dry. Once dry, re-oil the filter in accordance with the manufacturer’s instructions. See our other ‘How To’ articles on air filter maintenance.
Fuel Tanks
Cleaning the inside of fuel tanks is best done using fuel. Plug the two outlets with fuel tubing, pour some fuel into the tank and then seal the lid. Now shake the fuel around inside the tank for a couple of minutes and empty it via the flip top lid. Keep repeating this process this until you can no longer see any dirt in the tank.
Warm water can be used to clean the outside of the fuel tank, but make sure the tank is appropriately sealed first. Connect the pressure fitting to the fuel pickup outlet with fuel tubing to seal the inside of the tank and ensure no water can enter. Then run the tank under some warm water and wipe it with a towel. Leave the tank to dry so that any remaining water will evaporate.
Clutches
Over time, a glaze will form on the clutch; this will develop even quicker if fuel manages to work its way in. Removing the glaze will ensure the clutch works consistently from one run to the next. To clean the clutch, the engine first has to be removed from the truck. Then remove the clutch bell and the clutch bearings and wipe the inside of the clutch bell with a clean rag soaked with denatured alcohol. Now use an abrasive cleaning pad to wipe down the inside of the clutch bell and scrape off any glaze that has built up on the inside. The abrasive pad can also be used to lightly scrape the glaze off the area of the clutch shoes that contact the clutch bell. Before you put everything back together again, clean, re-oil, and inspect the clutch bearings. Make sure that they operate freely and do not show signs of wear and tear. If they show signs of excessive slop, it is best to replace the bearings rather than to run the risk of having them fail during a run.
Engines
With the engine and exhaust removed from the car, the engine can be sprayed with denatured alcohol and wiped clean. Heavily baked residue on the outside of the engine or pipe can be sprayed and then rigorously cleaned with a towel or an old toothbrush. Persistent glaze can be removed by soaking the component overnight in denatured alcohol.
Bodyshells
These can be simply dusted down with a brush, or wiped with a rag or kitchen towel if they have got wet. Removing external scuff-marks is best done with a tissue soaked in denatured alcohol. Simply rub the scuff-mark vigorously and it will usually come off. We have seen some drivers successfully use furniture polish wipes to put the final finishing touches to the shell, leaving the surface gleaming like new.
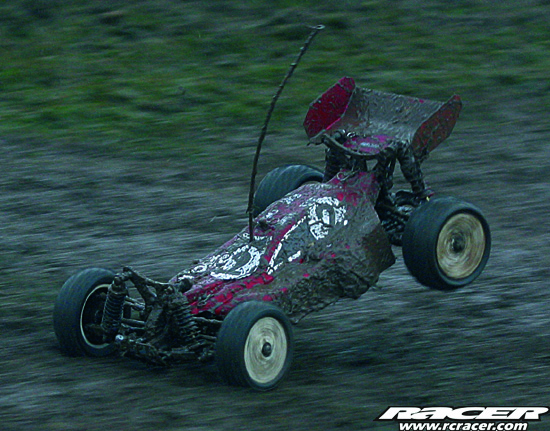
Extreme Conditions
The absolute messiest trucks are those that have been driven in thick mud, and the quickest way to clean them can be to take them for a shower! First remove the bodyshell and wheels as these are easy to wash separately. Then remove the engine, all of the electronics such as the servos, receiver, speed controller and any other components that shouldn’t be mixed with water. Now use the bathroom shower or a garden hose to spray the car until all of the visible dirt has been washed away. Shake the excess water off and dry the car with a towel, removing all of the moisture.
The truck will now appear to be clean, but never stop at this stage as the water will undoubtedly have worked its way into places you definitely don’t want it to be. To prevent rust, you need to reapply oil and grease in the gearbox, shafts, bearings and other moving parts. Then use a can of WD-40 and spray it everywhere, including the gearbox, shock shafts, axles, steering links and suspension hinges. Finally, dry the car off with a towel and reassemble the parts.
This is an extreme clean for extremely messy trucks, but it is always better to invest time in removing the dirt and thoroughly lubricating all of the moving parts than to leave the truck covered in mud. Rust can build up within a few hours and it doesn’t require much of it to seize the small hinges and linkages on an RC truck.
Cleaning Tips
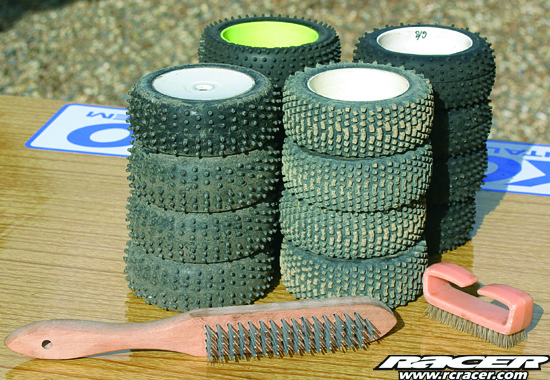
Don’t forget to remove the mud from your truck wheels. Dirt collects in the back of the plastic mouldings and needs to be scraped out on a regular basis. Forget to do so and you will be lugging around four heavyweight wheels!
If you will be racing on a wet, muddy surface, consider first spraying the chassis and other parts of the truck with WD-40. This will help prevent the mud from sticking. Don’t do this on a dry dirt track though, as the dust will simply stick to the WD-40!
When washing down the engine, pipe and manifold, make sure you do not get the fuel filter wet. With a foam or paper filter, flush the filter with air to keep it clean.
Carry a pack of baby wipes or scented hand towels in your pit-box. When cleaning your truck, your hands will get dirty too and a quick wipe with a wet towel will save a trip to the bathroom.
Cleaning Tools
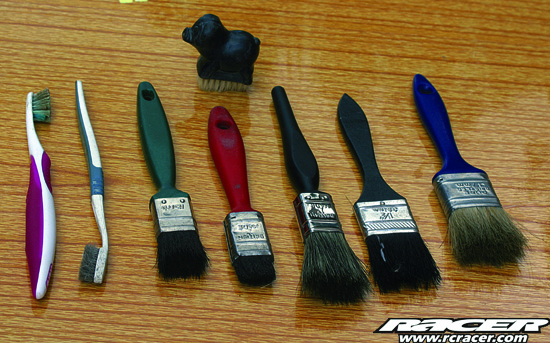
Brushes – A selection of different sized brushes is ideal for removing any surface dust. Hard-packed dust can be removed using a brush with stiff bristles, such as an old toothbrush.
Absorbent Kitchen Paper – Use absorbent paper or a rag to wipe off water and mud from the easy to reach areas. Any remaining dirt is often easier to remove once dry.
Abrasive Cleaning Pad – A scouring pad is ideal for cleaning the clutch bell and clutch shoes.
Wooden Tooth Picks – These are excellent tools for scraping the dirt from screw-heads. Within a few seconds you can have all the dirt removed from the screws underneath the chassis.
Flathead Screwdriver – Carefully use this to chisel and scrape off any hard-packed dirt that has accumulated in difficult-to-reach places, such as behind the steering linkages or gearbox cases.
Air-compressor or a can of compressed air – Some clubs provide an air compressor that can be used to blow the dust off the car. A can of compressed air is a portable alternative. When using these, take care not to blow dust into the truck, particularly into the gearboxes or engine.
Can of WD-40 – This is great for cleaning and lubricating moving metal parts such as the steering linkages and shock shafts. It helps to keep rust away too.
Denatured Alcohol – You can use this to clean most parts, including the chassis and the air filters. Denatured alcohol evaporates very quickly, so it cleans without leaving the surfaces soaking wet.
Cotton Buds – Once dipped in denatured alcohol, the cotton buds you normally use to clean your ears are equally ideal for poking into awkward corners of the truck.


