


Build Report – HPI Racing Formula Ten
Ok, so RC F1 cars are nothing new, HPI Racing have made them before amongst other manufacturers. But F1 is making a comeback in the RC world with both Tamiya and HPI Racing with their Formula Ten here recently launching cars. Lets see how HPI’s latest open-wheeler goes together.
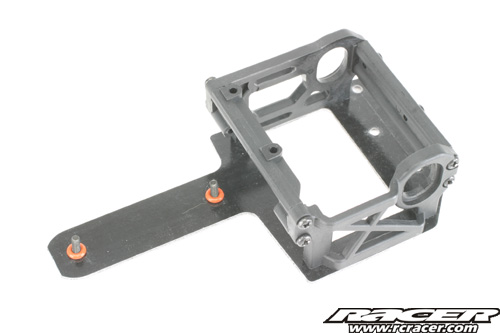
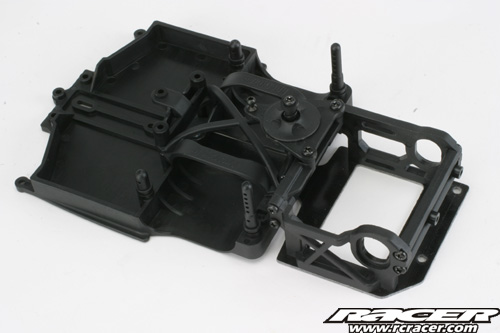
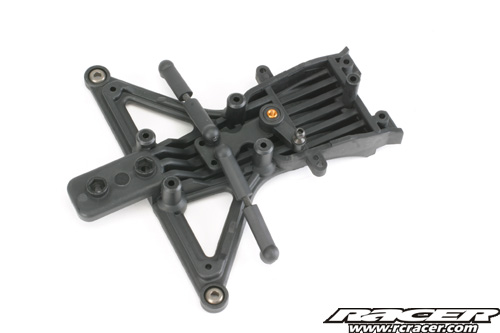
First to be assembled is the rear pod. It is worth assembling the plastic parts on a flat surface so that when it is screwed to the fibreglass T-bar it doesnt ‘tweak’ it.
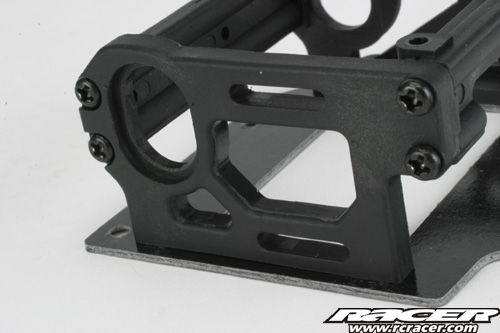
The rear pod is all plastic, including the motor plate. Notice the oval hole for the axle ride height adjusters.
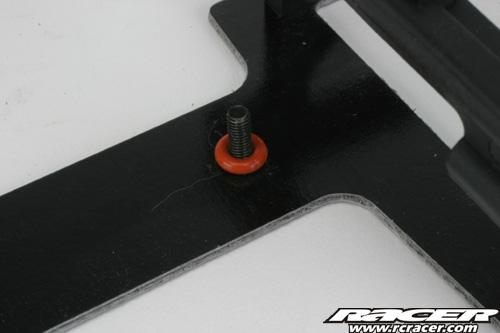
The little red O-rings on the T-Bar screw are what compress when tightened to adjust the rear ends side to side movement.
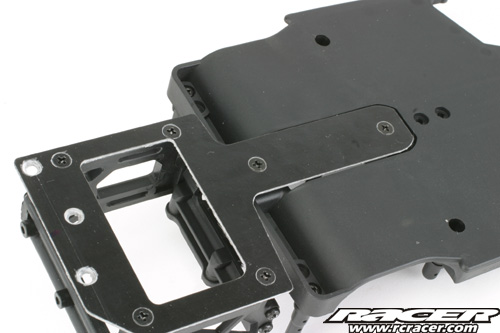
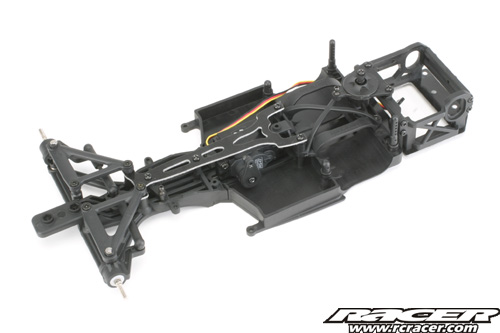
Next, the rear pod is attached to the main chassis moulding and the body posts, friction damper and battery retainings added.
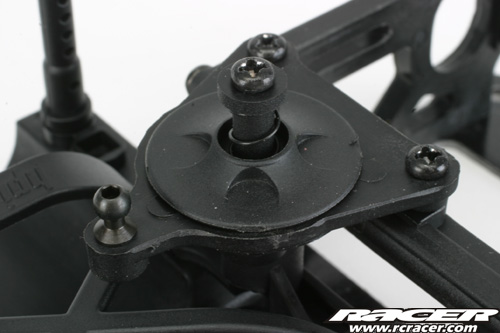
The friction damper has two sprung plates which act on the central plate. Its movement can be tuned using different thicknesses of grease.
The T-bar is recessed into the chassis giving the Formula Ten a smooth underside.
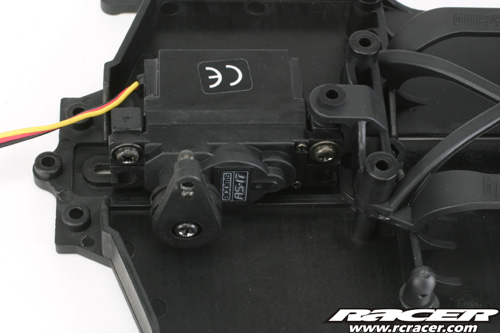
Moving forward, the steering servo is next to go in and our Acoms AS-17 was a perfect fit.
At the front end, the first parts to be added is the steering bellcrank and linkages. The bellcrank runs on plastic bushes although these could be replaced with ballraces if you want.
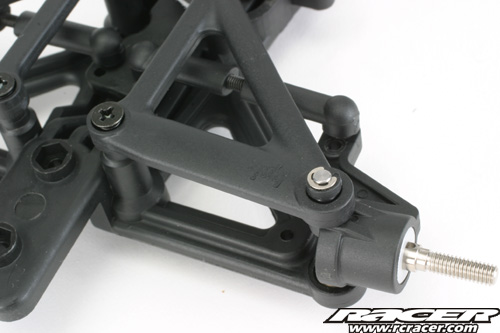
The front end bolted to the main chassis. The upper wishbones pivot on ball joints.
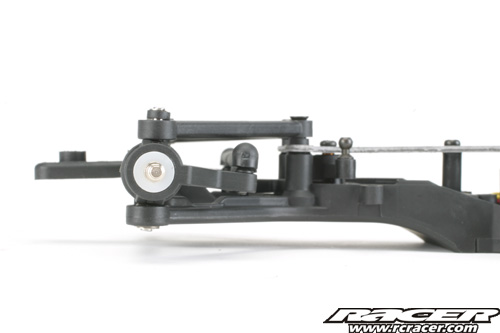
From the side you can see thet HPI have made the Formula Ten a high nose car, just like the real thing. Also notice the castor on the king pin.
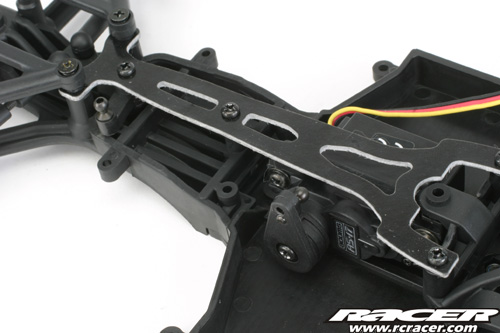
A fibreglass top plate helps to reduce flex in the narrow front end.
Here you can see that the front wheel bearings are held in the hub. These are plastic bushes.
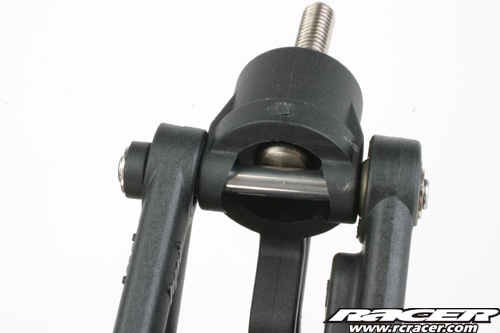
The rear of the front hub. Where the pin passes through looks a little fragile. If you make a habit of piling into things as fast as I do then maybe carrying some spare hubs in the tool box would be a good idea.
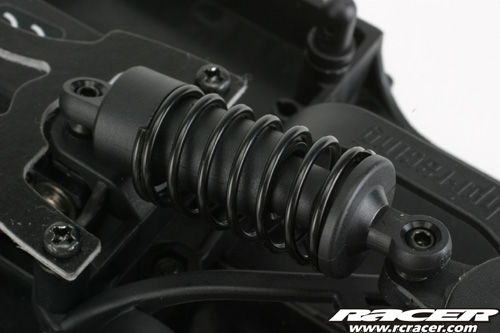
The central coil over damper stops the Formula Ten dragging it’s belly. The plastic moulded item is just a friction shock, i.e. not oil-filled.
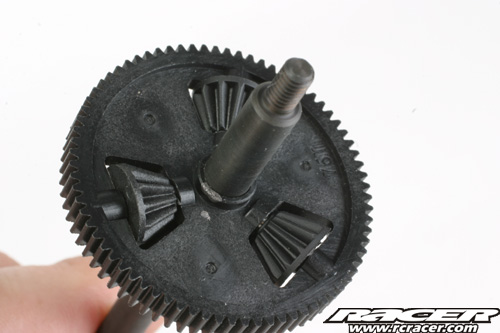
Going back to the rear end and the differential. Unusually but keeping costs down, this is a geared unit.
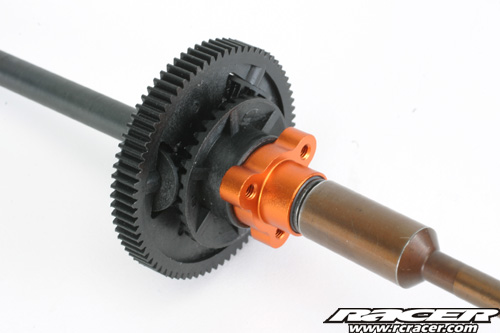
When assembled, it’s action can be adjusted for ‘freeness’ via a nut on the end…
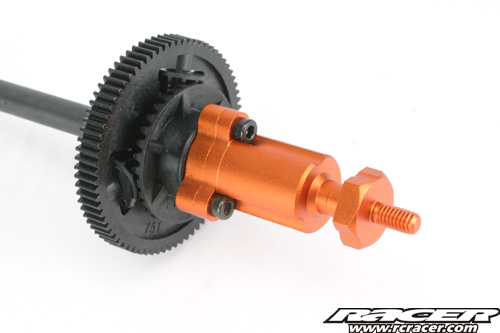
…which then has an orange alloy hex adaptor attached over it to drive the wheel.

HPI Racing give you three different ride height adjustment inserts in the Formula Ten kit.
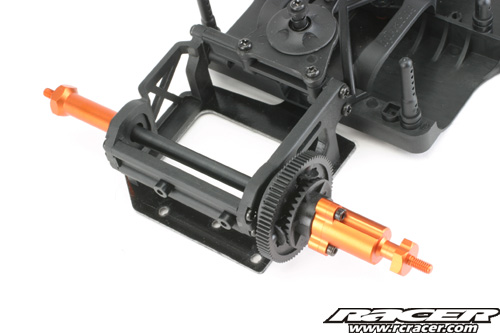
The completed rear end, out Formula Ten now just needs hooking up with electrics, wheels, tyres and body.
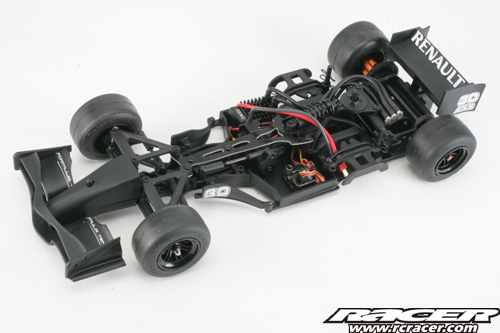
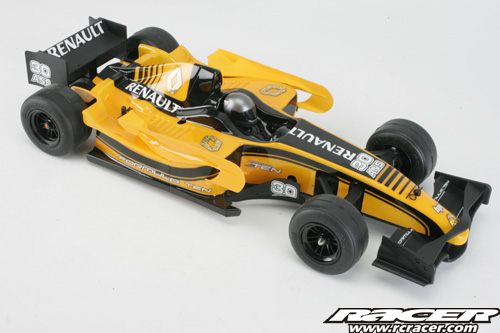
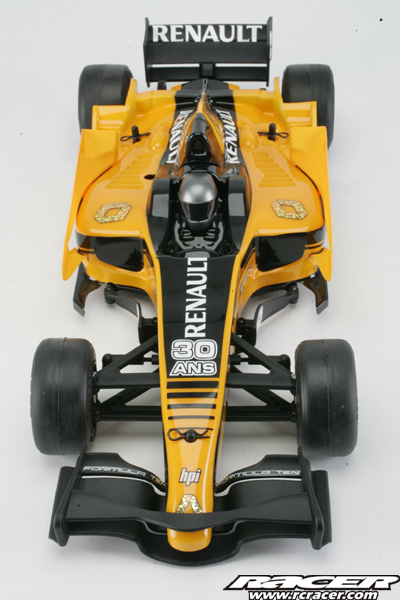
And here is, the completed chassis with HPI Flux brushless system, wings and optional Bridgestone legended tyres all installed on our Formula Ten.
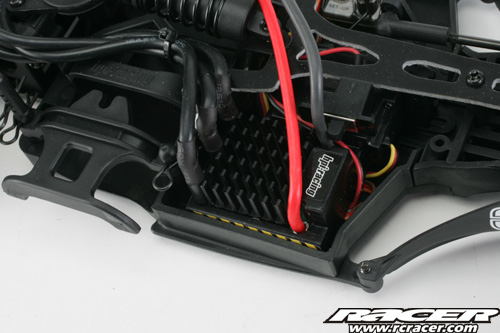
The Flux speed controller just fitted in the space in the chassis.
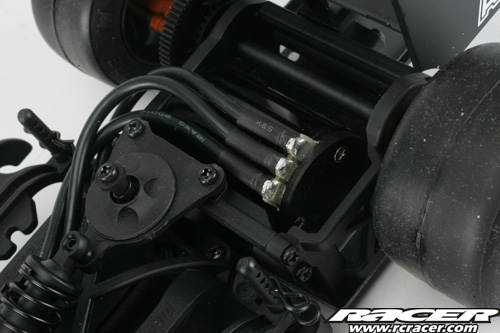
The brushless motor fitted into the rear pod snugly.
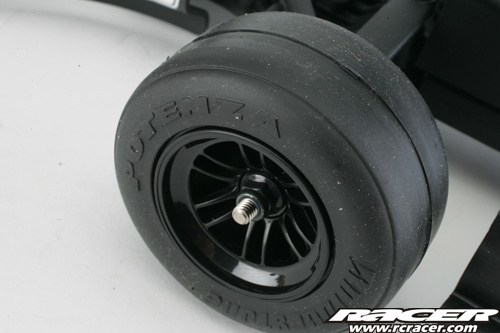
Tyres feel sticky and come with foam inserts.
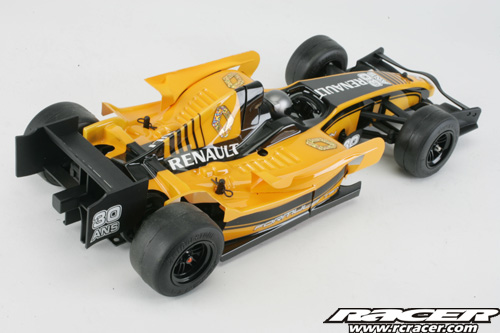
The bodyshell is a multi-piece affair that requires various aero appendages taped into place. Looks good when finished though!
So, can F1 be an RC hit again? We hope so and the HPI Racing Formula Ten would be a great car for the class. When building the car, we did think that some of the car’s spec was a little low but then found out the price! It’s really competitive – you truly can go F1 racing on a budget!
More Information: HPI Europe


