


How To Maintain Brushless Motors
Brushless motors are a very cool thing and thanks to the lack of delicate brushed and commutators virtually a fit and forget item. But although brushless motors seem maintenance free in fact they only need LESS maintenance. Care should be taken to keep them in best running condition race after race.
Beside the fully enclosed motor cans, many of the current brushless motors feature cooling openings that allow dust, dirt and moisture to enter the can harming the internals like bearings, windings and the rotor. Therefore, especially the open-can motors, require a good clean-up every couple of runs. The openings allow for a very easy check of the motor’s condition meaning visible dirt, dust and rust call for immediate action. Dirty or worn bearings are highlighted by a gritty feel when turning the motor shaft. If they still feel rough after a good clean it’s time to replace them with new ones.
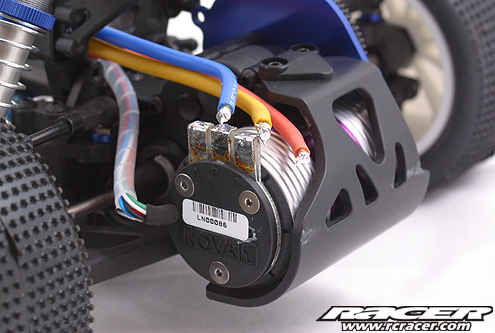
Unsolder the three power wires and detach the sensor cable from the speed controller or the motor. This Novak Velocity motor has a fixed sensor cable that stays in place.
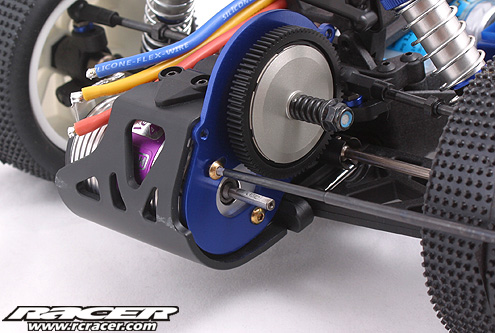
Take the motor out of the chassis. Clean the motor holder area if necessary while you are at it.
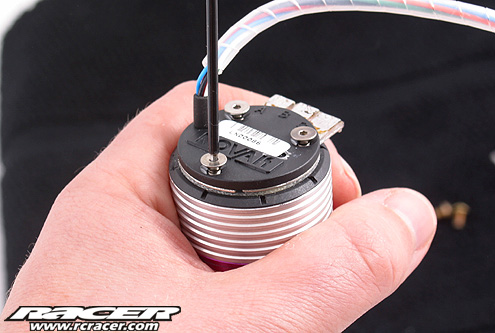
Unscrew the front and rear screws that hold the motor together. This step may differ slightly regarding the type of motor you have. Often this step is referred to in the manual that comes with the motor. Make sure to mark or write down the motor/sensor timing on motors that allow for different timing settings. Shoot a picture with your mobile phone or digital camera to remind yourself of the correct assembly of all parts.
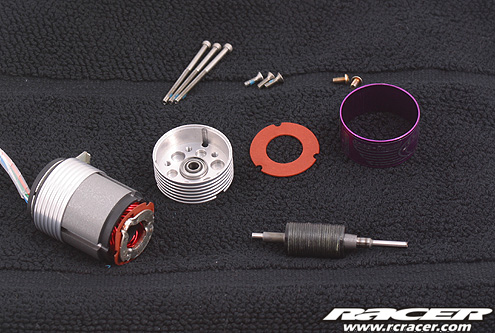
Lay out all parts on a clean towel or store them in a bowl so no small parts can disappear from your working space.
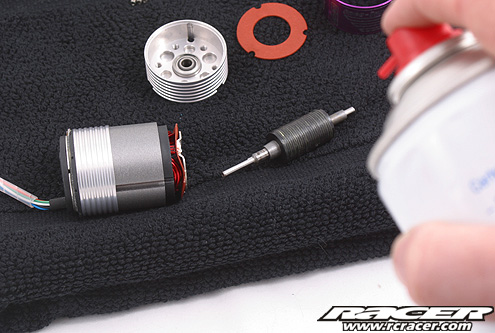
Carefully spray and clean the can and rotor with motor cleaner.
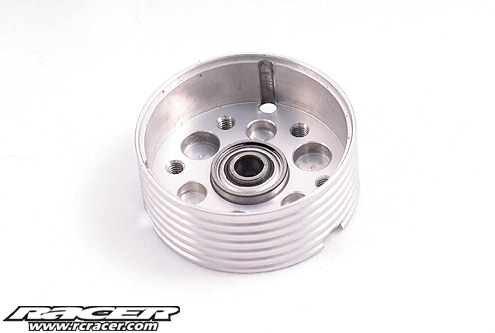
If the front and rear bearings are only slightly dusted clean them with a cotton bud and a couple of drops of motor cleaner. If they are worn or very dirty a replacement is needed.
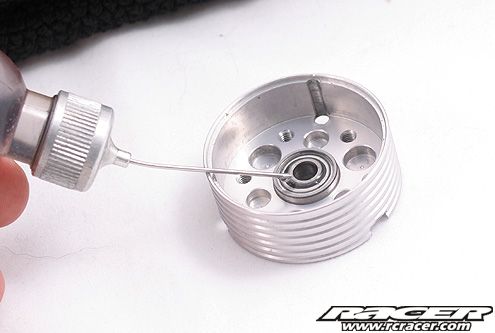
Lightly oil the new or cleaned bearings. Remove excessive oil with a dry cotton bud.
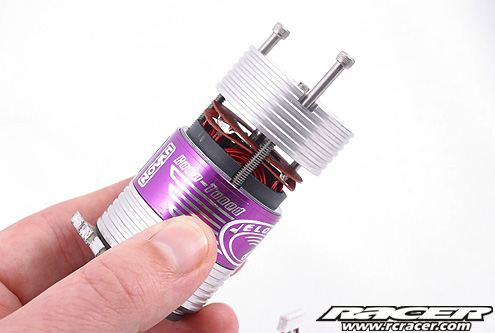
With everything cleaned and oiled put the parts back together. Make sure you use the correct timing position on motors that allow for different settings.


