


How To Replace Tamiya-style Connectors
Although not powerful enough to handle today’s high performance brushless motors and LiPo batteries you will find the good ol’ white Tamiya-style connectors on almost any ‘sports’ battery pack out there. If you use them in low-current applications, i.e. with very mild 27T motors etc. they are ok, but their design only allows for a relatively low constant current making them useless for your new 11.1v LiPo battery with a 5.5T motor on the other side of your speedo. The connectors would simply melt together because of the heat created by the high contact resistance! Also contact resistance is a real performance killer unnecessarily slowing down your ride making good quality high-current connectors a cheap option part to boost your ride’s performance.
Is it that simple?
Please beware! If you run at sanctioned meetings please make sure you are allowed to change your battery’s and speedo’s connectors. Often you have to use the plugs that come with the hand-out batteries. Also replacing the connectors on your electronic speed control may harm the manufacturers warranty. Please refer to the supplied manual to make sure you are allowed to modify your electronics.
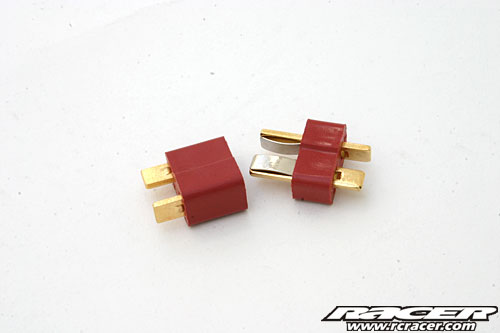
These Deans-style connectors are one of the more common on the market and have been around for many years now. They are perfect to replace Tamiya-style connectors. They consist of a male and female plug with massive gold-plated contact patches and pressure springs
Now cut off the old connector. Make sure to cut only one wire a time starting with the black negative wire. If you cut both at a time you will likely short-out the battery which is very dangerous to say the least!
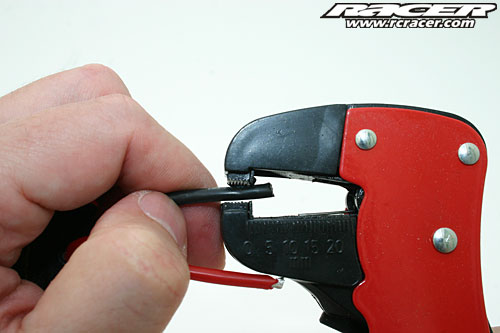
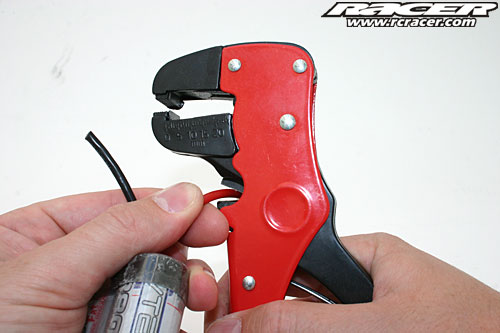
With the old plug cut off, remove around 3 mm of the insulation to expose bare wire to solder the new high-current plug on. Insulate the other wire with suitable shrink-wrap or electrical tape for added safety.
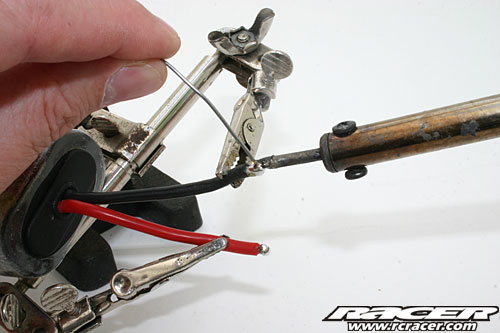
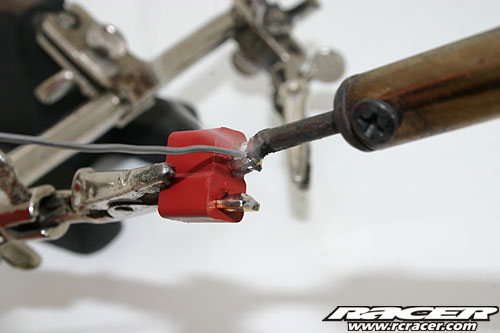
A so called third hand is helpful to hold the wire in place while soldering the exposed ends as the insulation of the wire will become very hot at times.
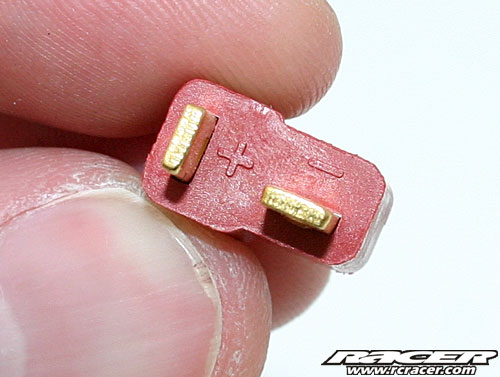
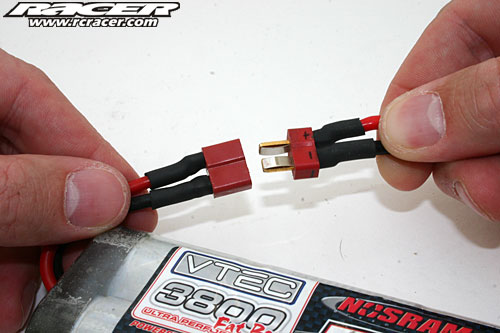
Make sure you use the female plug for your battery and the male plug (the one with the two visible contacts) for the speed control or charging cable as this ensures no exposed contacts when the battery is detached from the speedo or charger. Also ensure correct polarity of the plugs. Positive and negative poles are marked on the plug.
Tin both contacts on the male and female plug as this ensures a good soldered joint later.
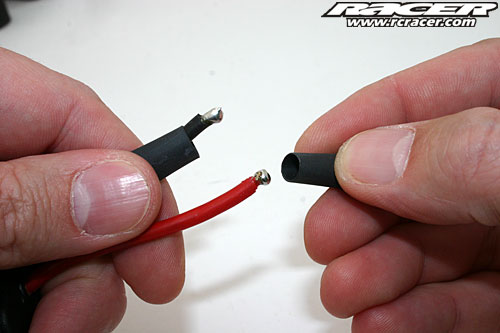
Before mating plug and wire cut two 10 to 15 mm long tubes of heat-shrink and put them over the battery wires. It’s not possible to do this after the parts are soldered together…
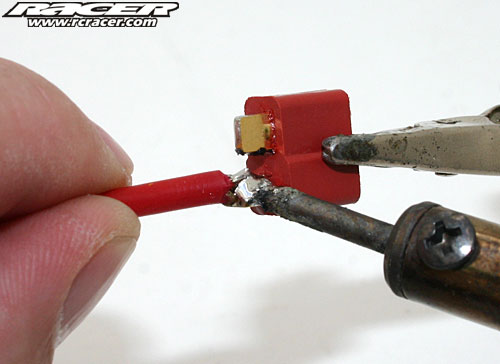
Clamp the female plug with the third hand, heat the contact patch until the solder becomes hot and press on the wire allow the solder on the wire to take some heat, pull away the soldering iron and let the solder joint cool down for a couple of seconds. For this task use a good quality soldering iron with a medium-sized tip and a power rating of at least 40 watts.
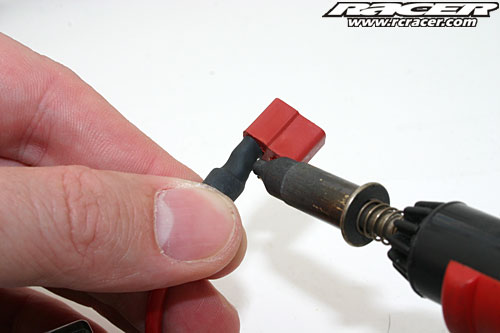
When the first joint is done, slip the shrink wrap over it and heat it with a hairdryer or a lighter.
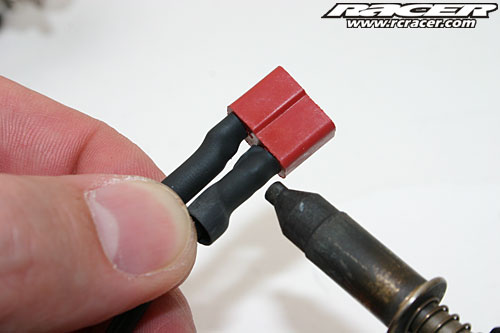
After soldering the second wire protect the soldering joint with shrink wrap too.
Et voilà ! You can mark the two poles with a permanent marker if you wish.


