


LIVE BUILD! – Tamiya Sand Scorcher – Chassis Done! (Update 16/05/10 18:17)
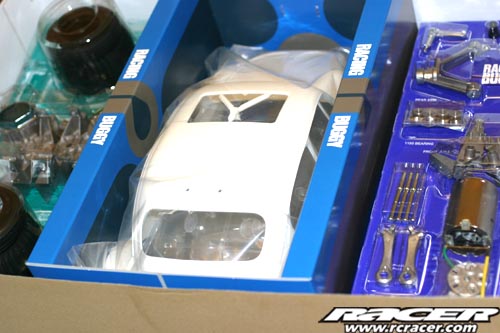
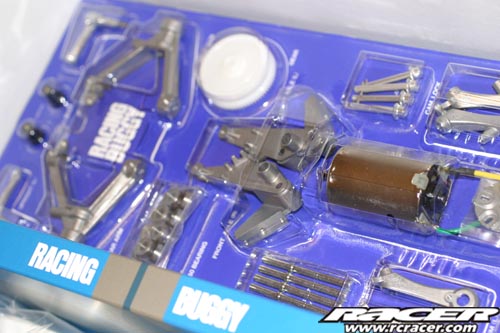
Hello, good evening and welcome to our ‘Live Build’ of the Tamiya Sand Scorcher! Our live builds will allow you to follow progress of the assembly of the car as it is done by us on this page which will be updated as various stages of construction are completed so check back regularly! This Sand Scorcher build will deal with the chassis only as the hard plastic bodyshell will form one of our ‘How To’s’ on painting these tricky bodyshells. So check back here regularly over the near future to see how we are getting on! To start with, here are a few images of the kit…
 |
 |
 |
 |
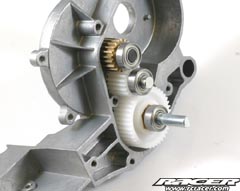
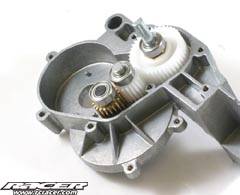
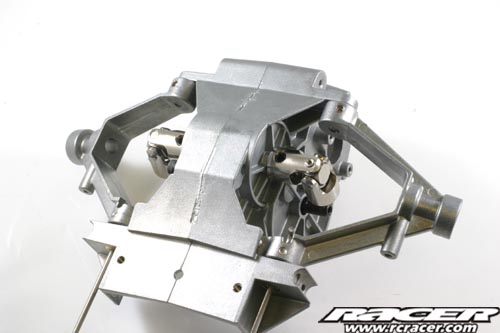
Step 1 : Gearbox – Complete
|
|
 |
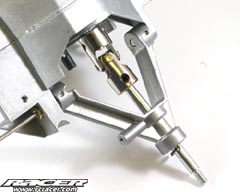
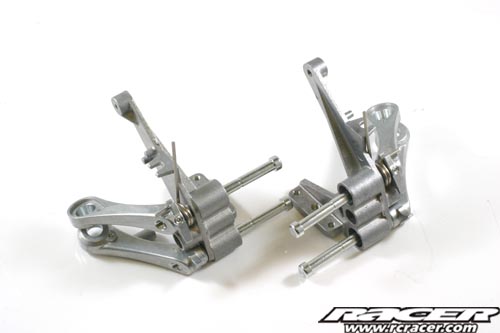
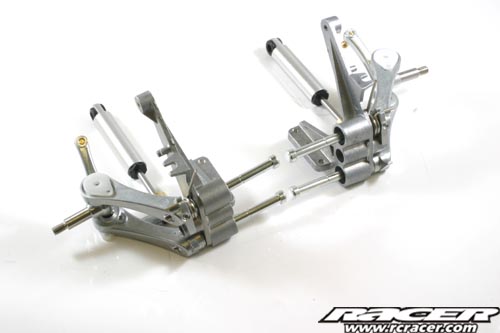
Step 2 – Rear Wishbones And Torsion Bars Attached
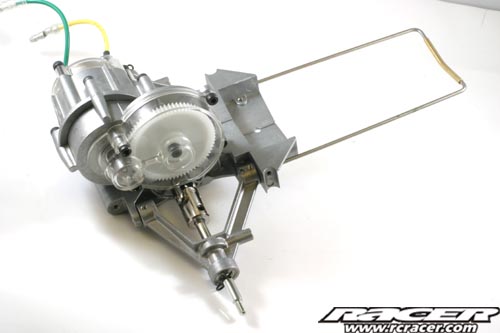
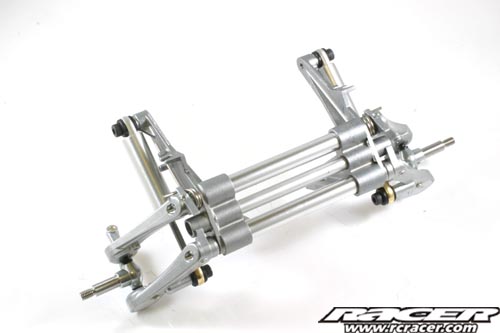
Step 3 – Motor And Rear Driveshafts Added
 |
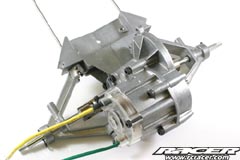 |
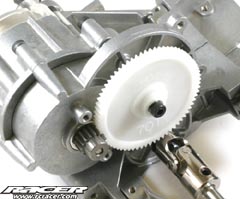
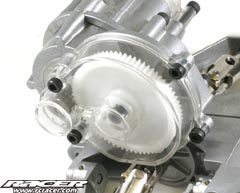
Step 4 – Spur Gear, Pinion And Gear Case Cover Attached To The Gearbox
 |
 |
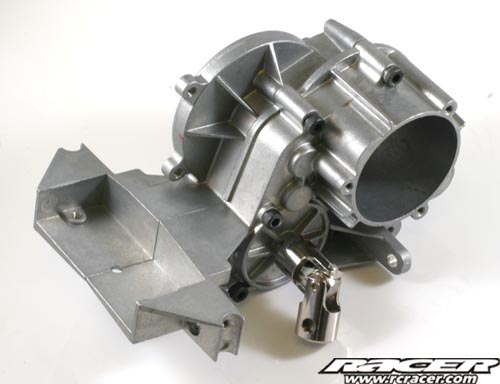
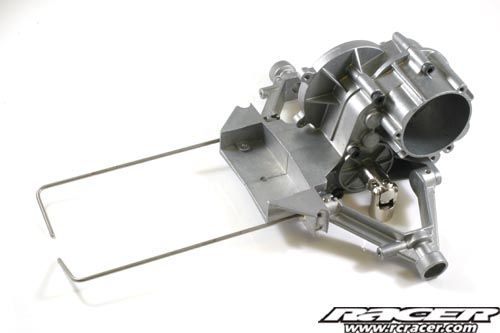
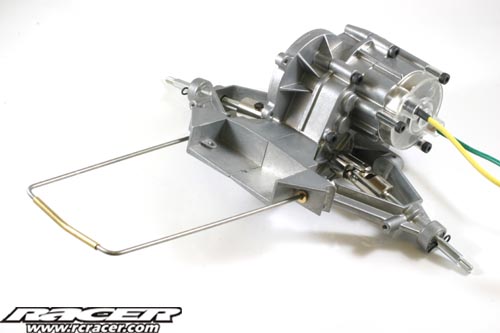
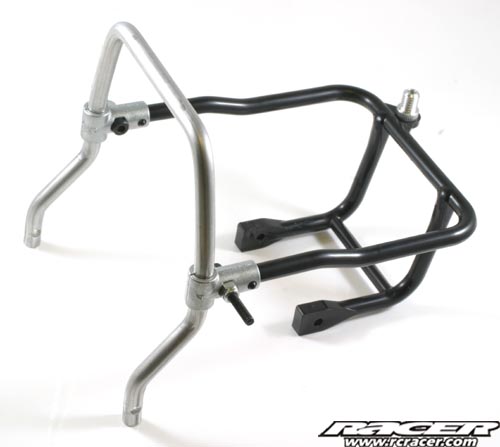
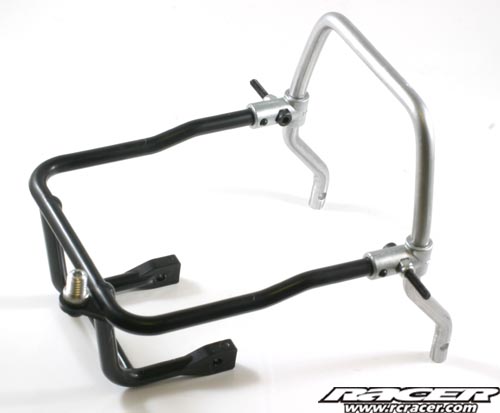
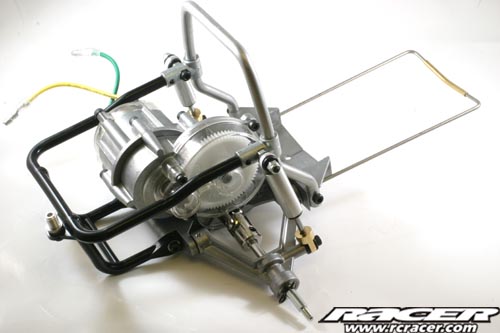
Step 5 – Rear Cage And Roll Bar Assembled
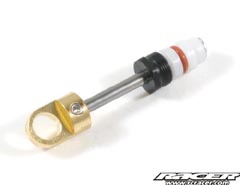
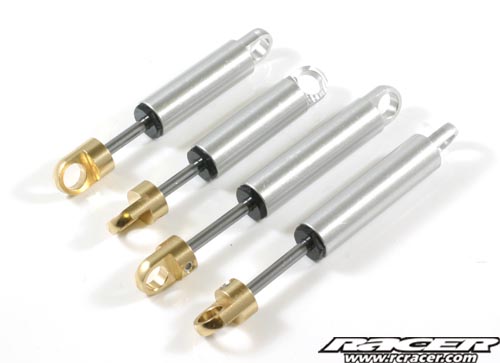
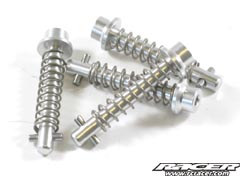
Steps 6 & 7 – Oil Dampers Built
 |
 |
 |
 |
Step 8 – Rear Cage/Roll Bar And Damper Attachment
 |
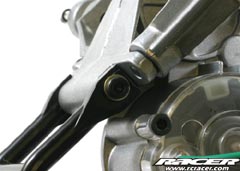 |
The rear plastic cage to gearbox mounting (above right) didn’t fit. The rear cage needed trimming back so the screw holes aligned. Unusual, as I don’t remember the same issue being there when I built the Racer Buggy Champ.
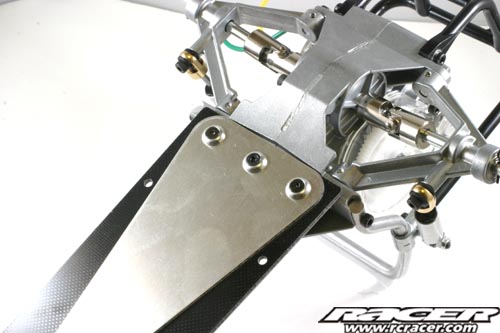
Step 9 – Gearbox Attached To Chassis With Aluminium Reinforcement Plate
Step 10 – Front Trailing Arms Attached To Suspension Mounts
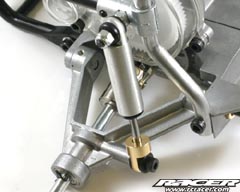
Step 11 – Front Uprights Attached And Dampers Mounted On Bottom Trailing Arm
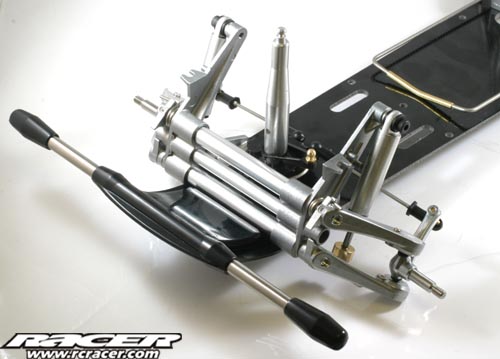
Step 12 – Front Suspension Completed!
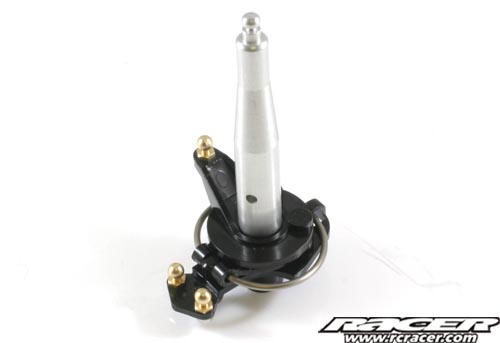
Step 13 – Servo Saver Assembled
Step 14 – Front Suspension Attachment To Chassis

Step 15 – Front Bumper Attachment
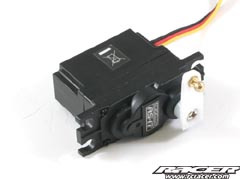
Steps 16 & 17 – Servo Centering And Radio Installation
 |
 |
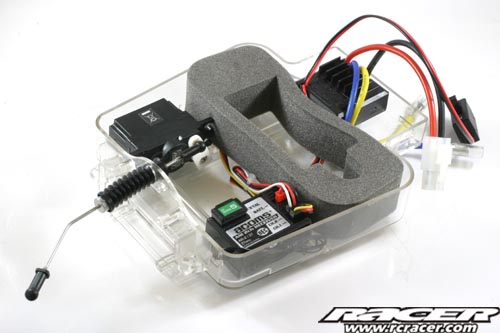
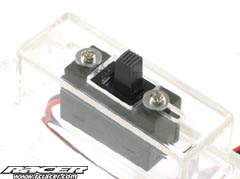
Step 18 – Cam Locks Assembled And Switch Attached To Mechanism Box Lid
 |
 |
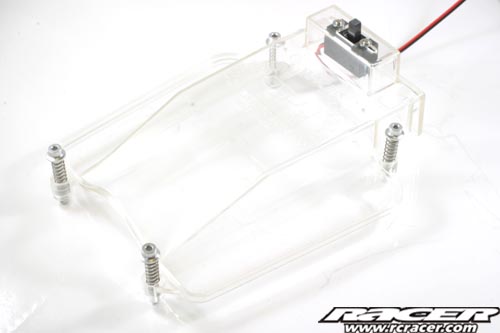
Step 19 – Radio Mechanism Box Attachment To Chassis
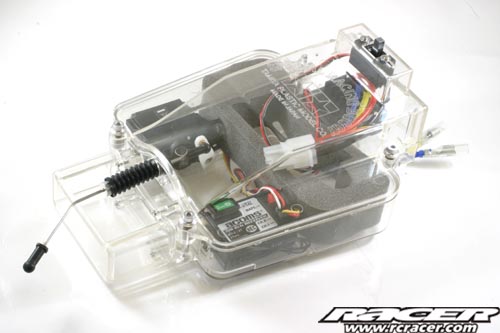
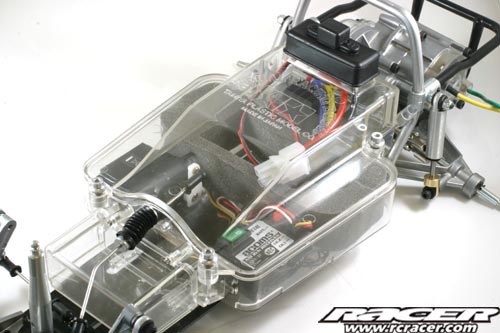
And thats about as far as we can go, the chassis is complete! The wheels will be painted along with the body and we will have some gallery images of the completed car up here on rcracer.com when it is done. Also look out for the full review which will appear in the August 2010 issue of Racer magazine.


