


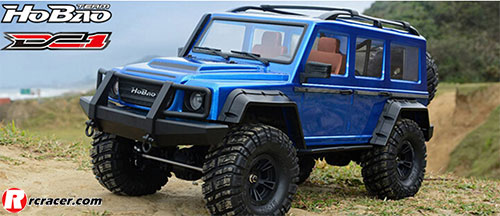
 The new DC1 from HoBao is on sale now and available in either a Ready-To-Run or kit format. Racer was lucky to get a sample from CML Distribution who represent the HoBao brand in the UK and as it was the latter kit type, we decided that a build blog would be perfect to show off the 1:10-scale trail crawler. So over the next few days, we will be uploading photos going through the build from beginning to finish.
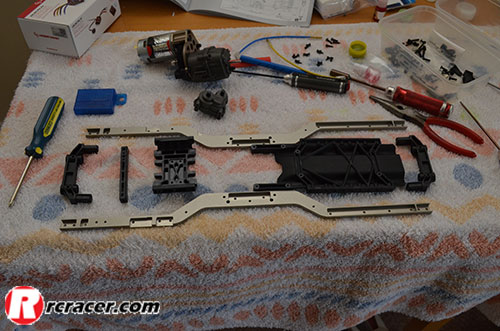
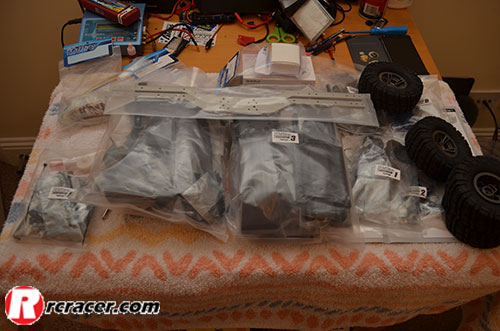 To start off, here are all the parts laid out and ready to be opened
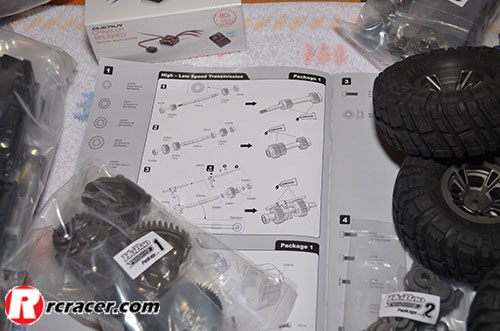 The instructions are clear and easy to follow
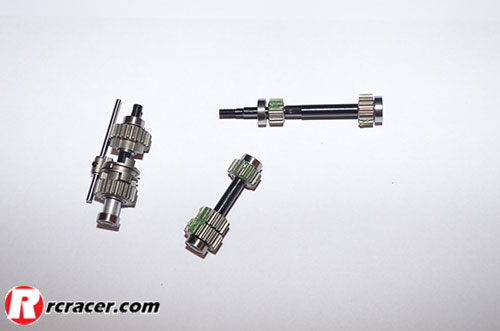 The parts that make up the two-speed transmission
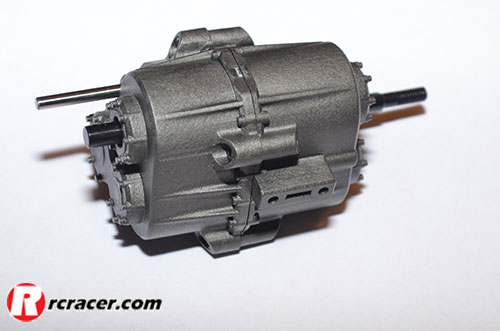 The completed two-speed transmission
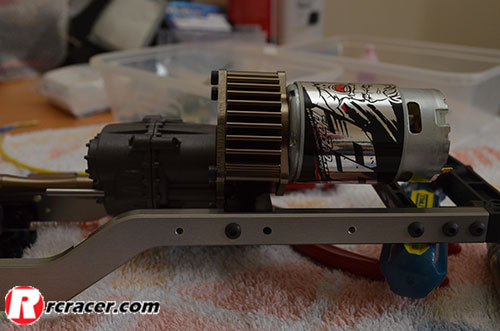
 The kit version requires a motor and we selected this HoBao 550-size brushed model
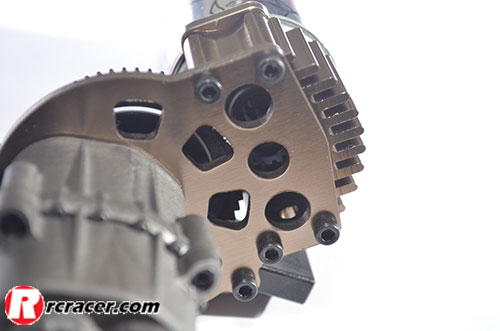 The motor was attached to the mounting plate and the mesh set through the holes
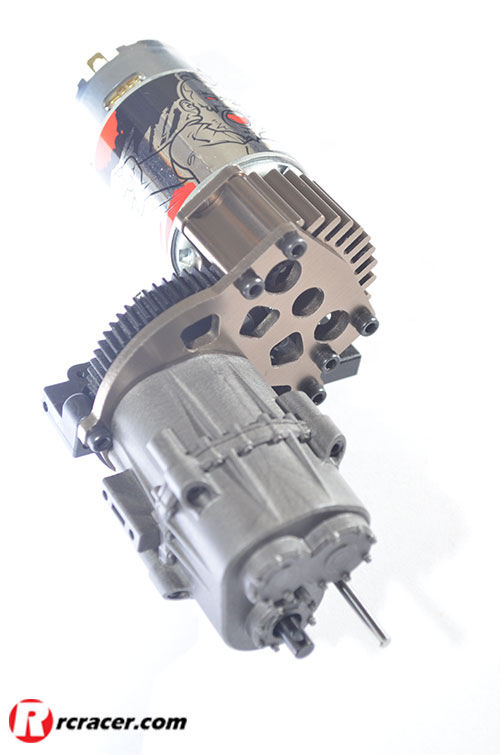 Now we could attach the two-speed to the other side of the motor plate
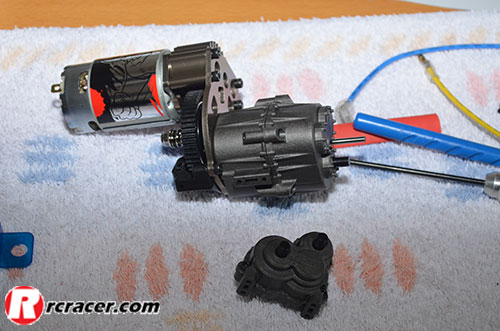 The two parts of the transmission
 The chassis parts all laid out
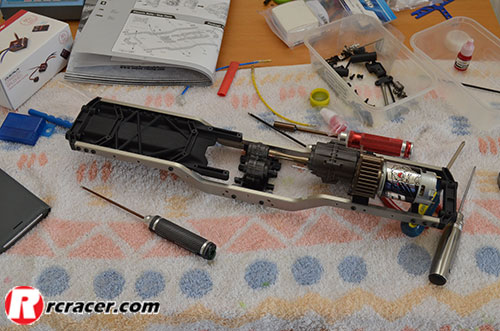 The initial chassis build
 The motor sits at the very front of the chassis
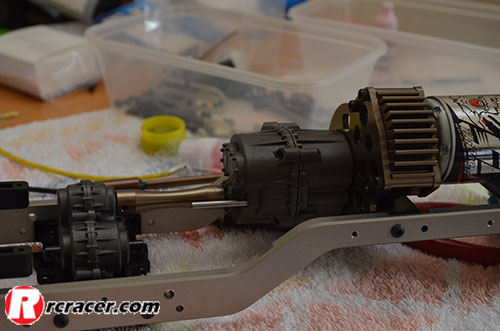 Hooking the two-speed up to the gearbox
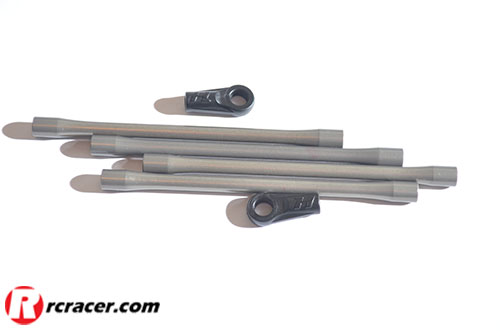 The suspension linkages and ends
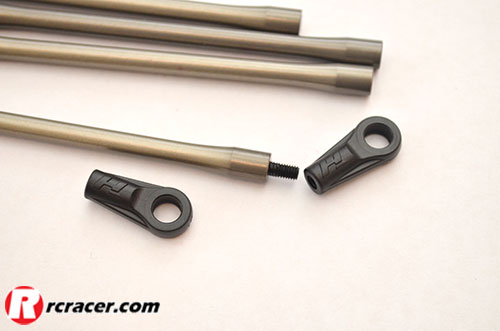 Assembling the linkages
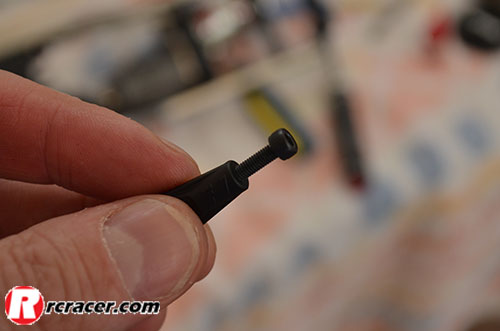 Pre-tapping the ends
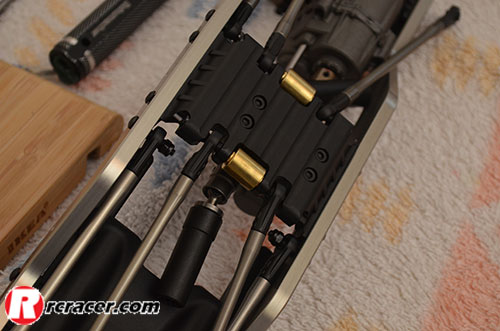 Attaching the links to the chassis
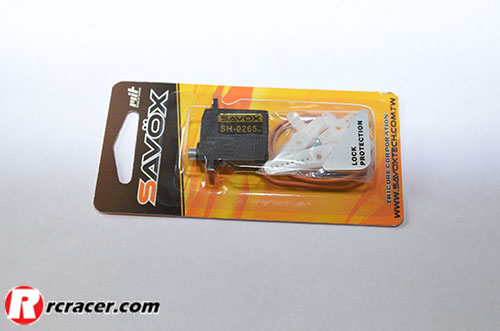 We used this Savox servo to operate the two-speed transmission
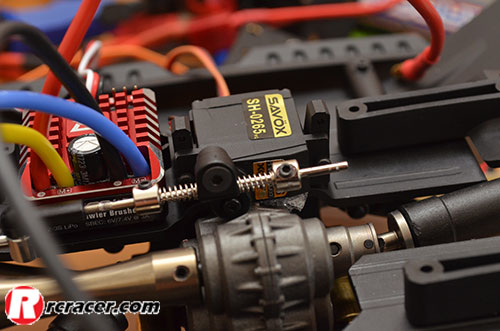 The gear change servo and linkage
 Side plate fitted
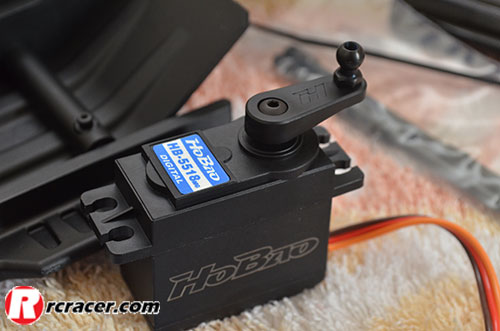 A HoBao servo for the steering with horn installed
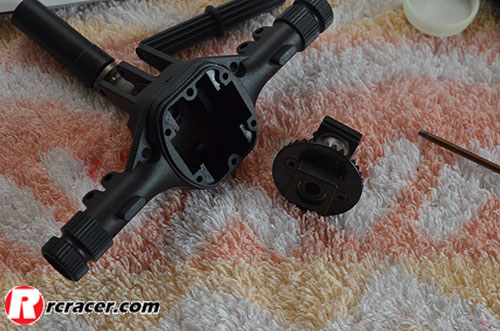 Assembling the axle unit
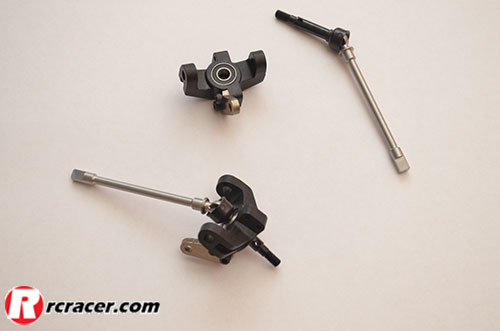 The steering knuckles and driveshaft
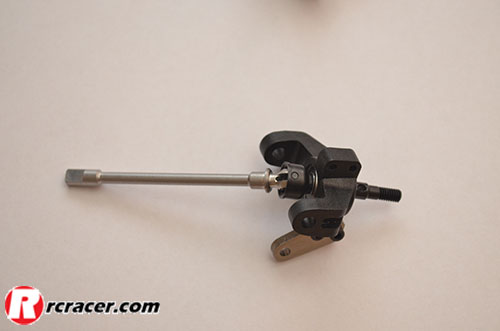 A completed steering knuckle with CVD installed
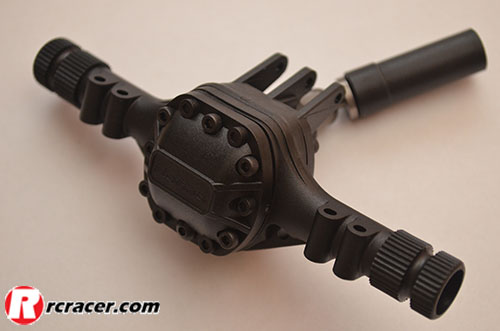 Differential unit with the cover in place
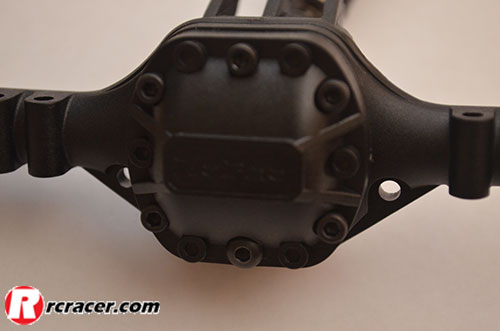 A close up of the pumpkin (diff cover)
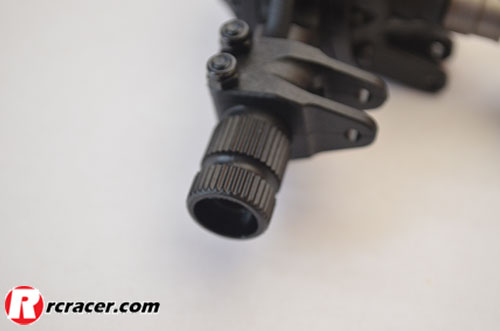 Fine adjustment for the caster angle using these splines
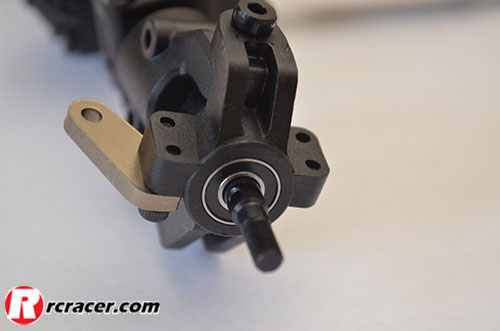 The steering knuckle located on the axle
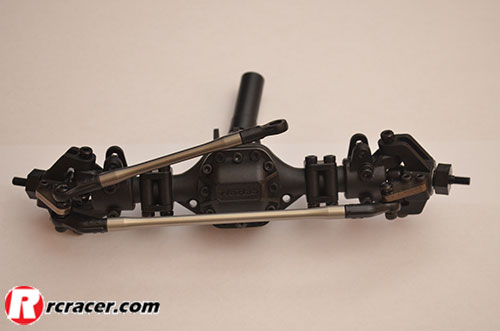 The front axle virtually complete with the steering arms
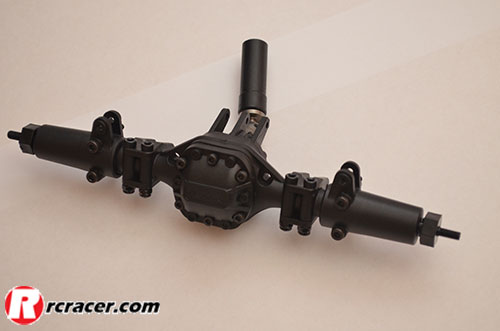 The rear axle is a much simplified arrangement
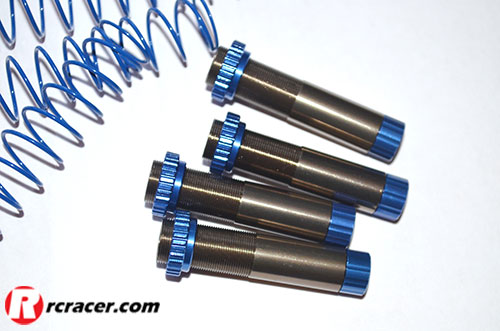 Shock bodies and bright blue springs
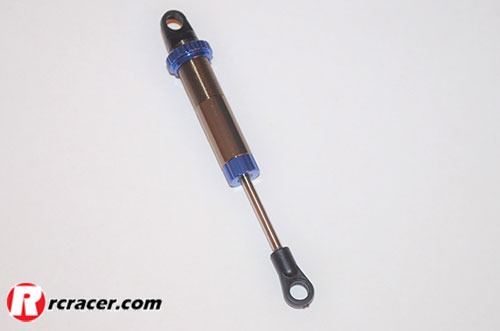 One assembled shock absorber
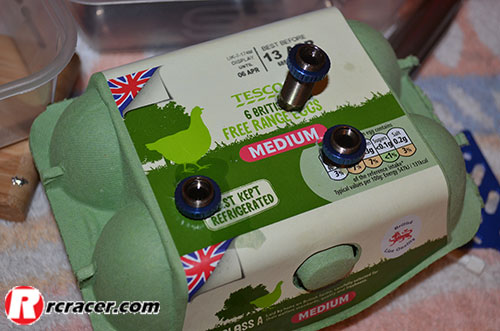 An egg box makes for a handy shock holder!
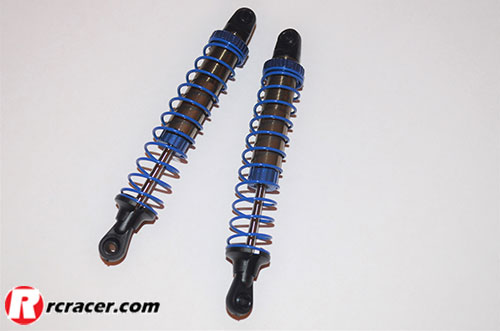 Springs fitted to the shock absorbers
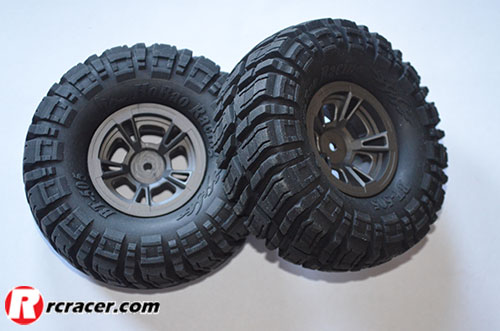 Wheels and tyres for the DC1
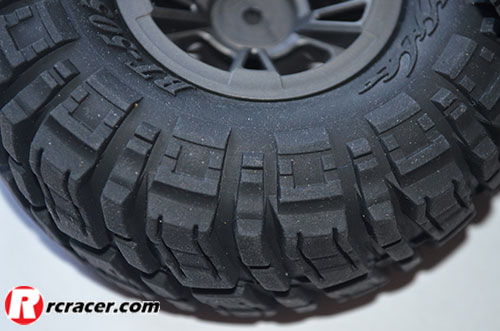 Deep tread on the rubber tyres
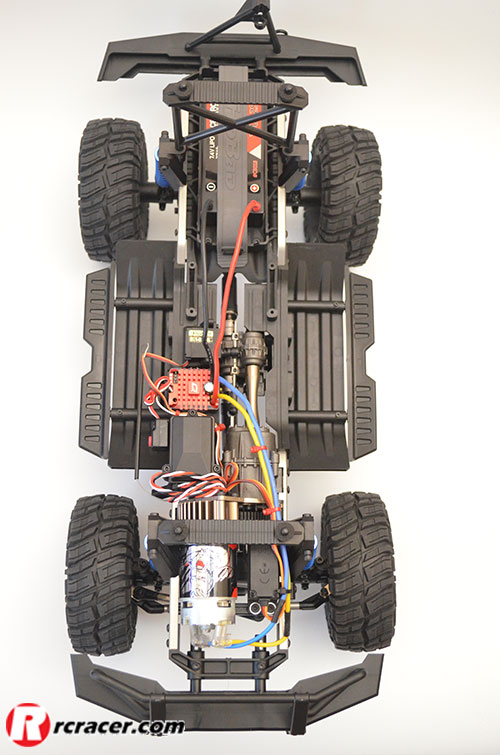 The finished chassis from above
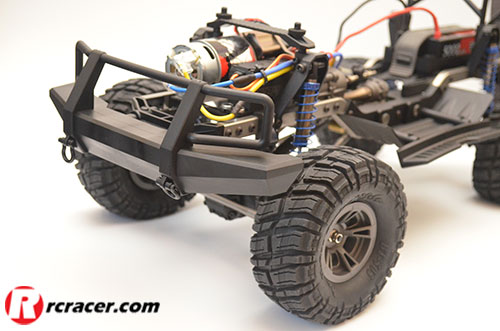 The front three-quarter view
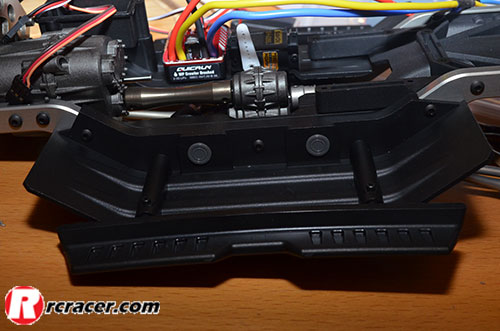
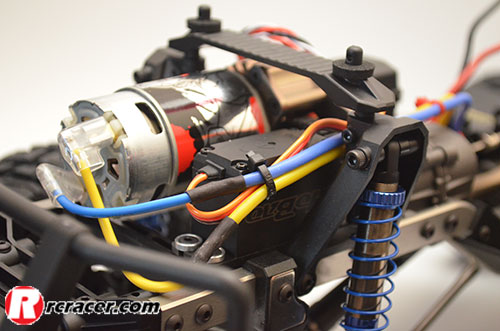 The motor and servo in position
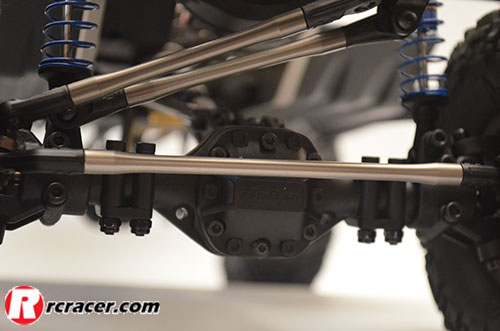 The Panhard rod steering set-up
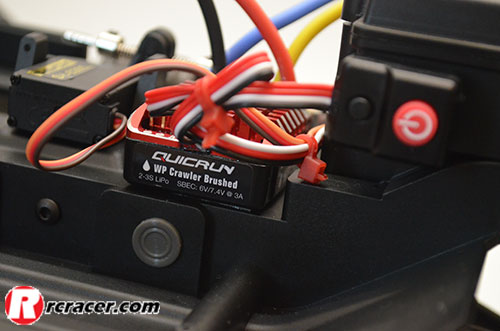 The speed controller and switch
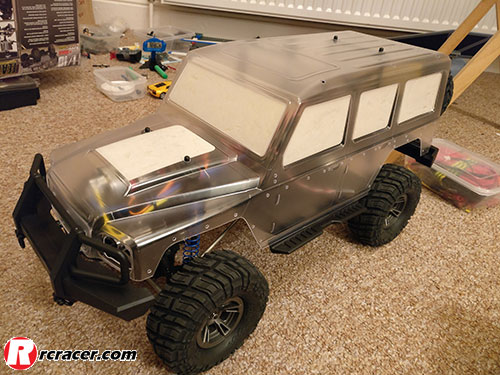 The body masked up and ready for some paint
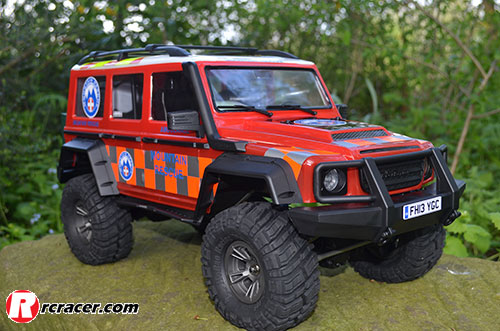 The completed model – and doesn’t it look great!
If you have any questions, feel free to post them on our social media feed – we have a Facebook group and page as well as a Twitter feed and these will also be used to notify you of updates to this on-going process…
Look out for a detailed build report in the September issue of Racer that will include our driving experiences too. The DC1 will remain one of our long-term test models and we will add some accessories and custom features over time!


